Creating this static site with Jekyll (On Windows) and using a custom Theme Jekyll-Theme-Chirpy and hosting it on Github became more of an adventure than I expected. I watched a few youtube videos and they all worked great (on their side) but they where usually on a Linux or a MAC computer and only one of them by Techno Tim (which is the reason I even attempted this) included the use of a custom theme.
So if you are like me and use Windows only and want to use Jekyll, a Custom Theme and host the site on github. Follow me and I hope you get the same results I did.
The Steps we will take
- Install Ruby This will be de DEV Edition
- Install Jekyll
- Install Bundler
- Create our Github Repository We do this by Cloning The Theme to our repository
- Cloning your new Repo to your PC for Editing.
- Make some changes to our _config.yml file.
- Running your site locally.
- Uploading to Github.
- Re-Assign our branch for github-pages.
Assumptions
- You must already have GIT Installed.
- You must already have a text editor. (I recommend Visual Code Is the one used on this tutorial, it’s small and FREE)
Installing Ruby
Head over to rubyinstaller.org and install the DEV version. At time of this tutorial it was version Ruby+Devkit 3.1.2-1 (x64) (choose your version I am on a 64 bit version of Windows 11).
Make sure you install EVERYTHING.
Screenshots
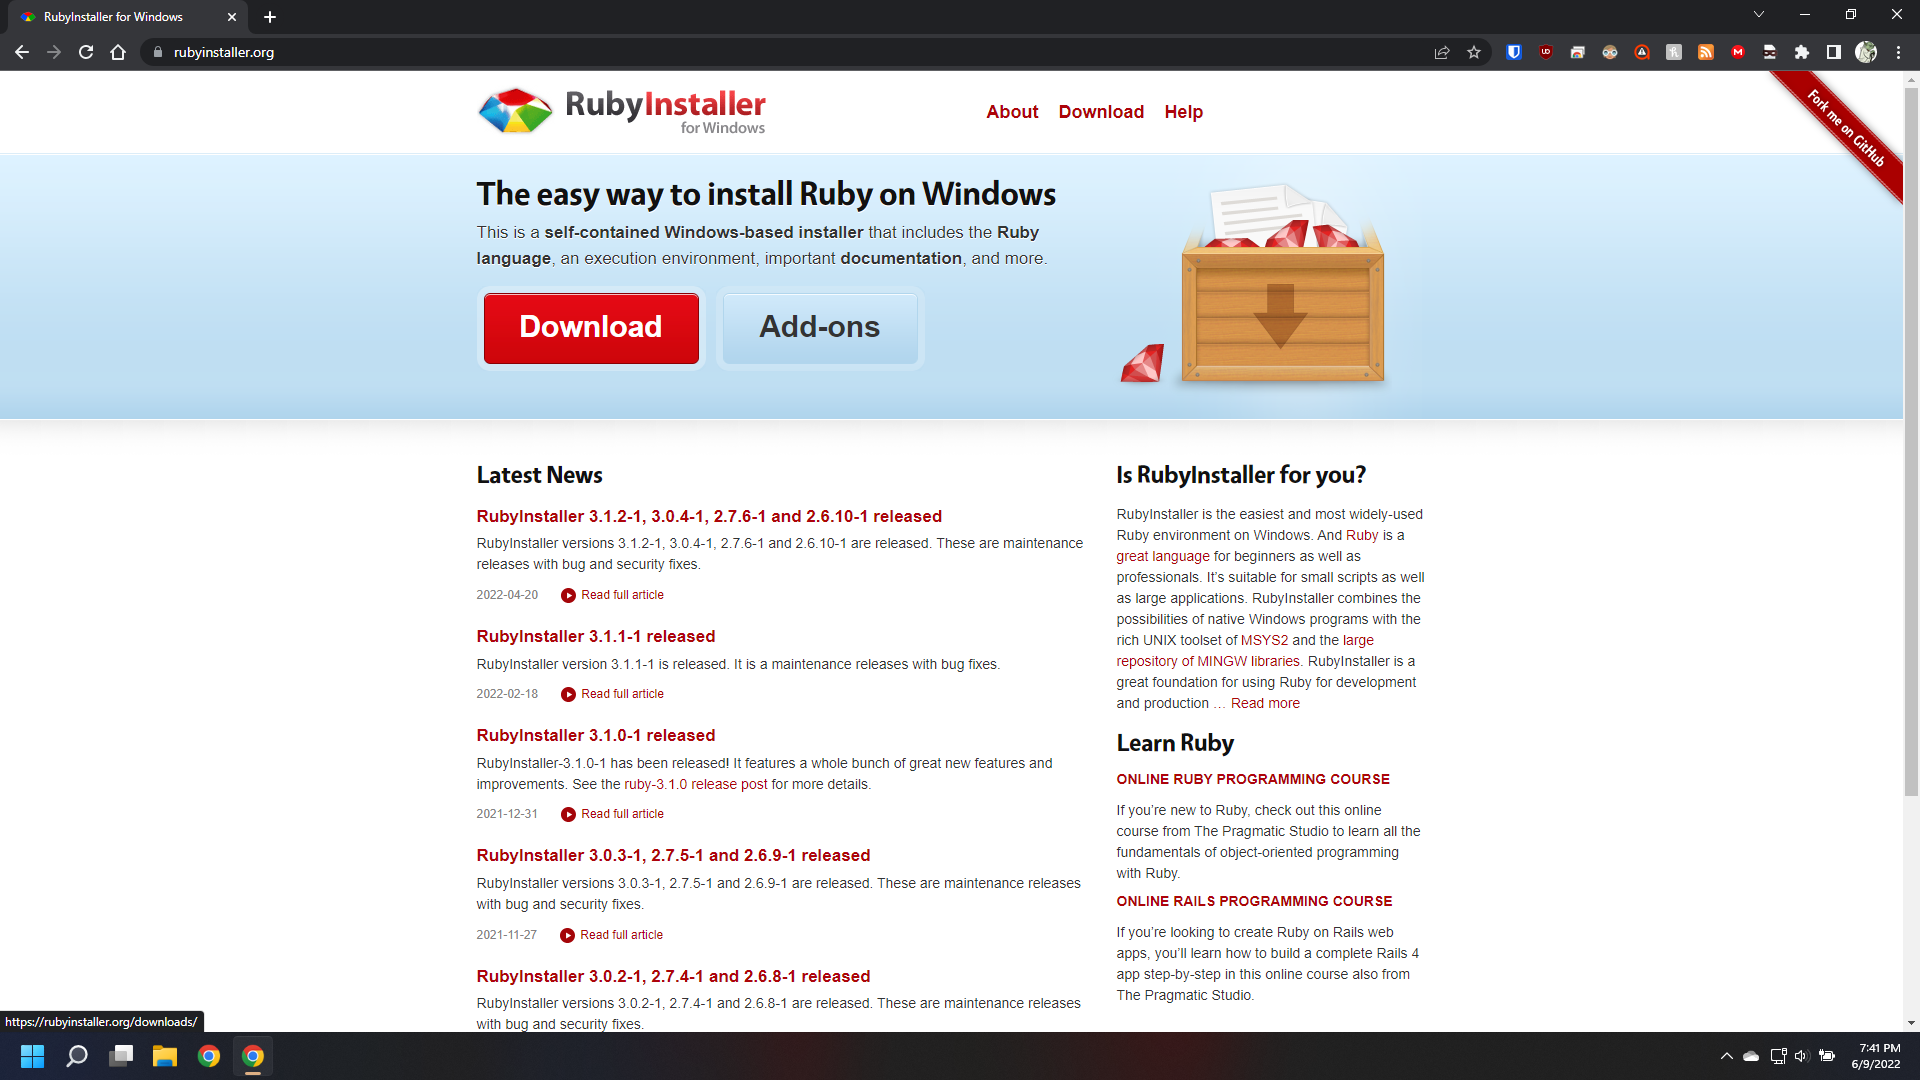
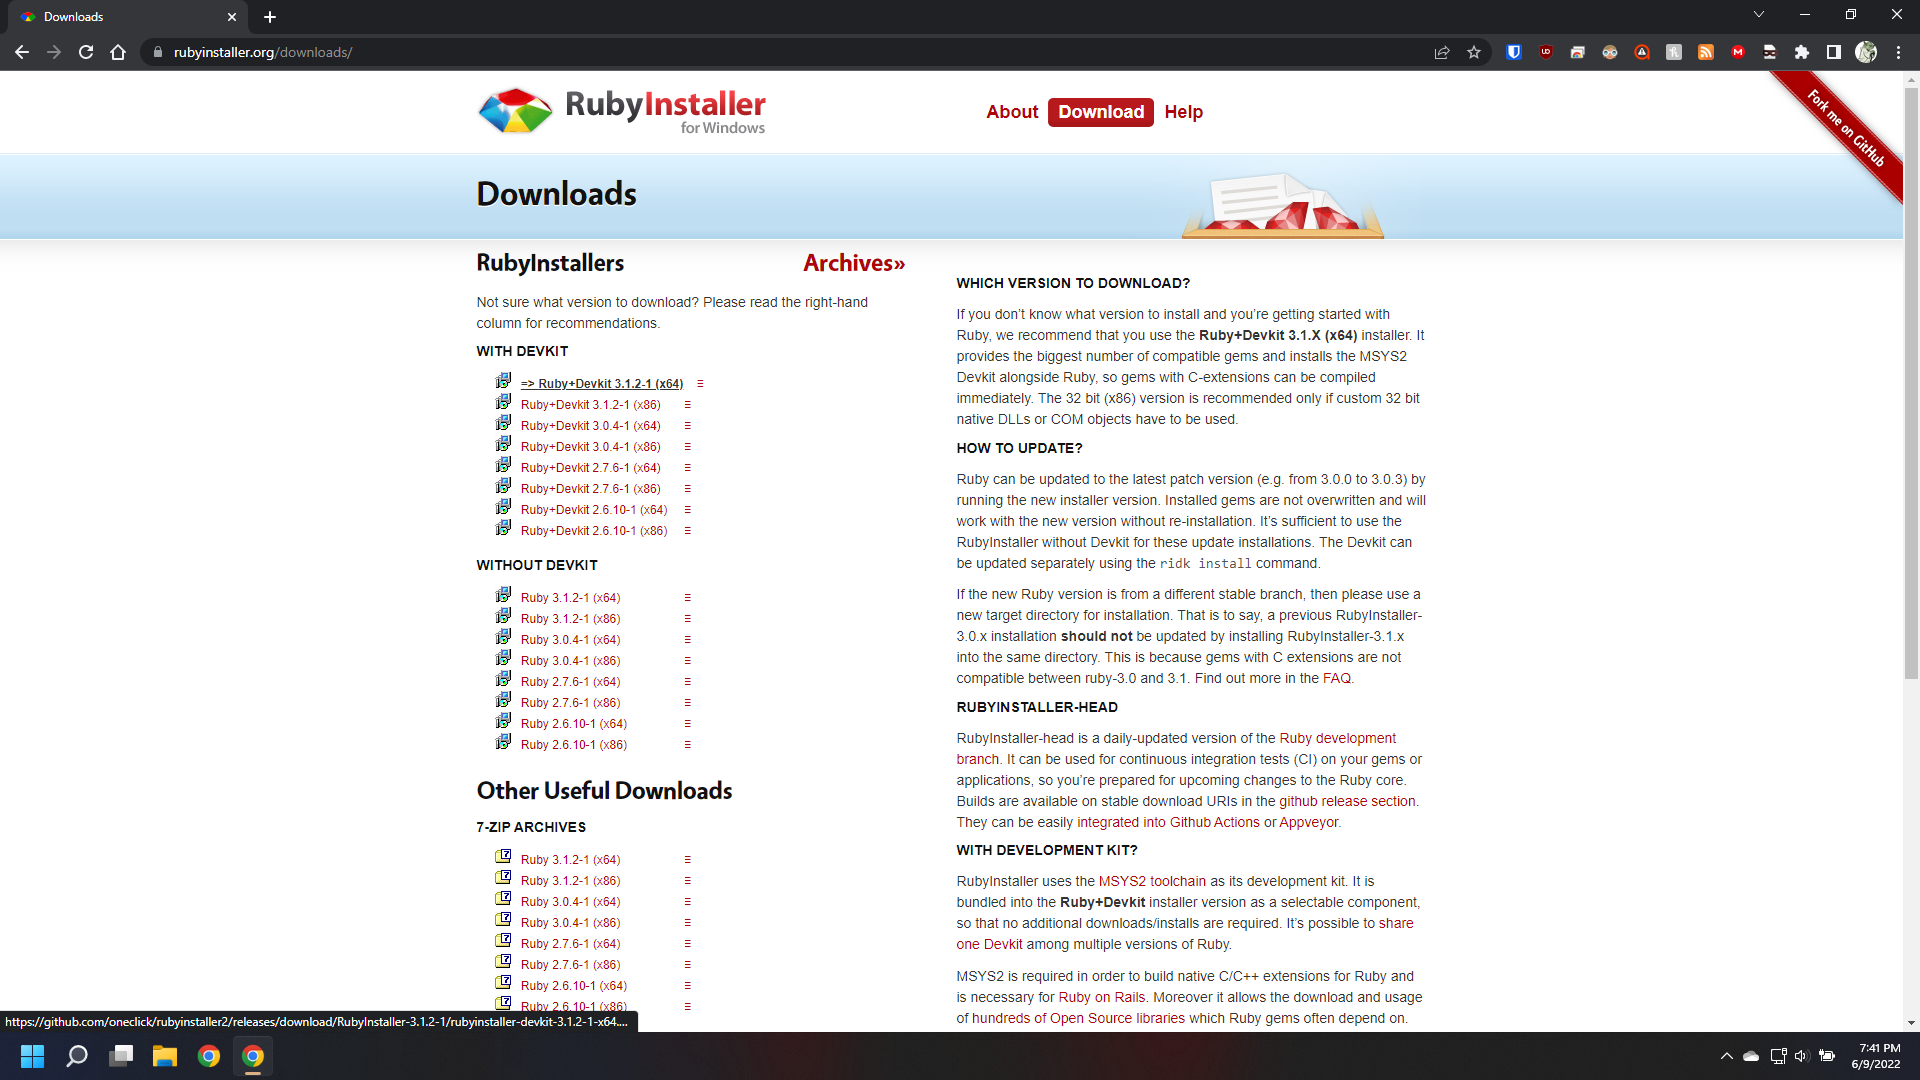
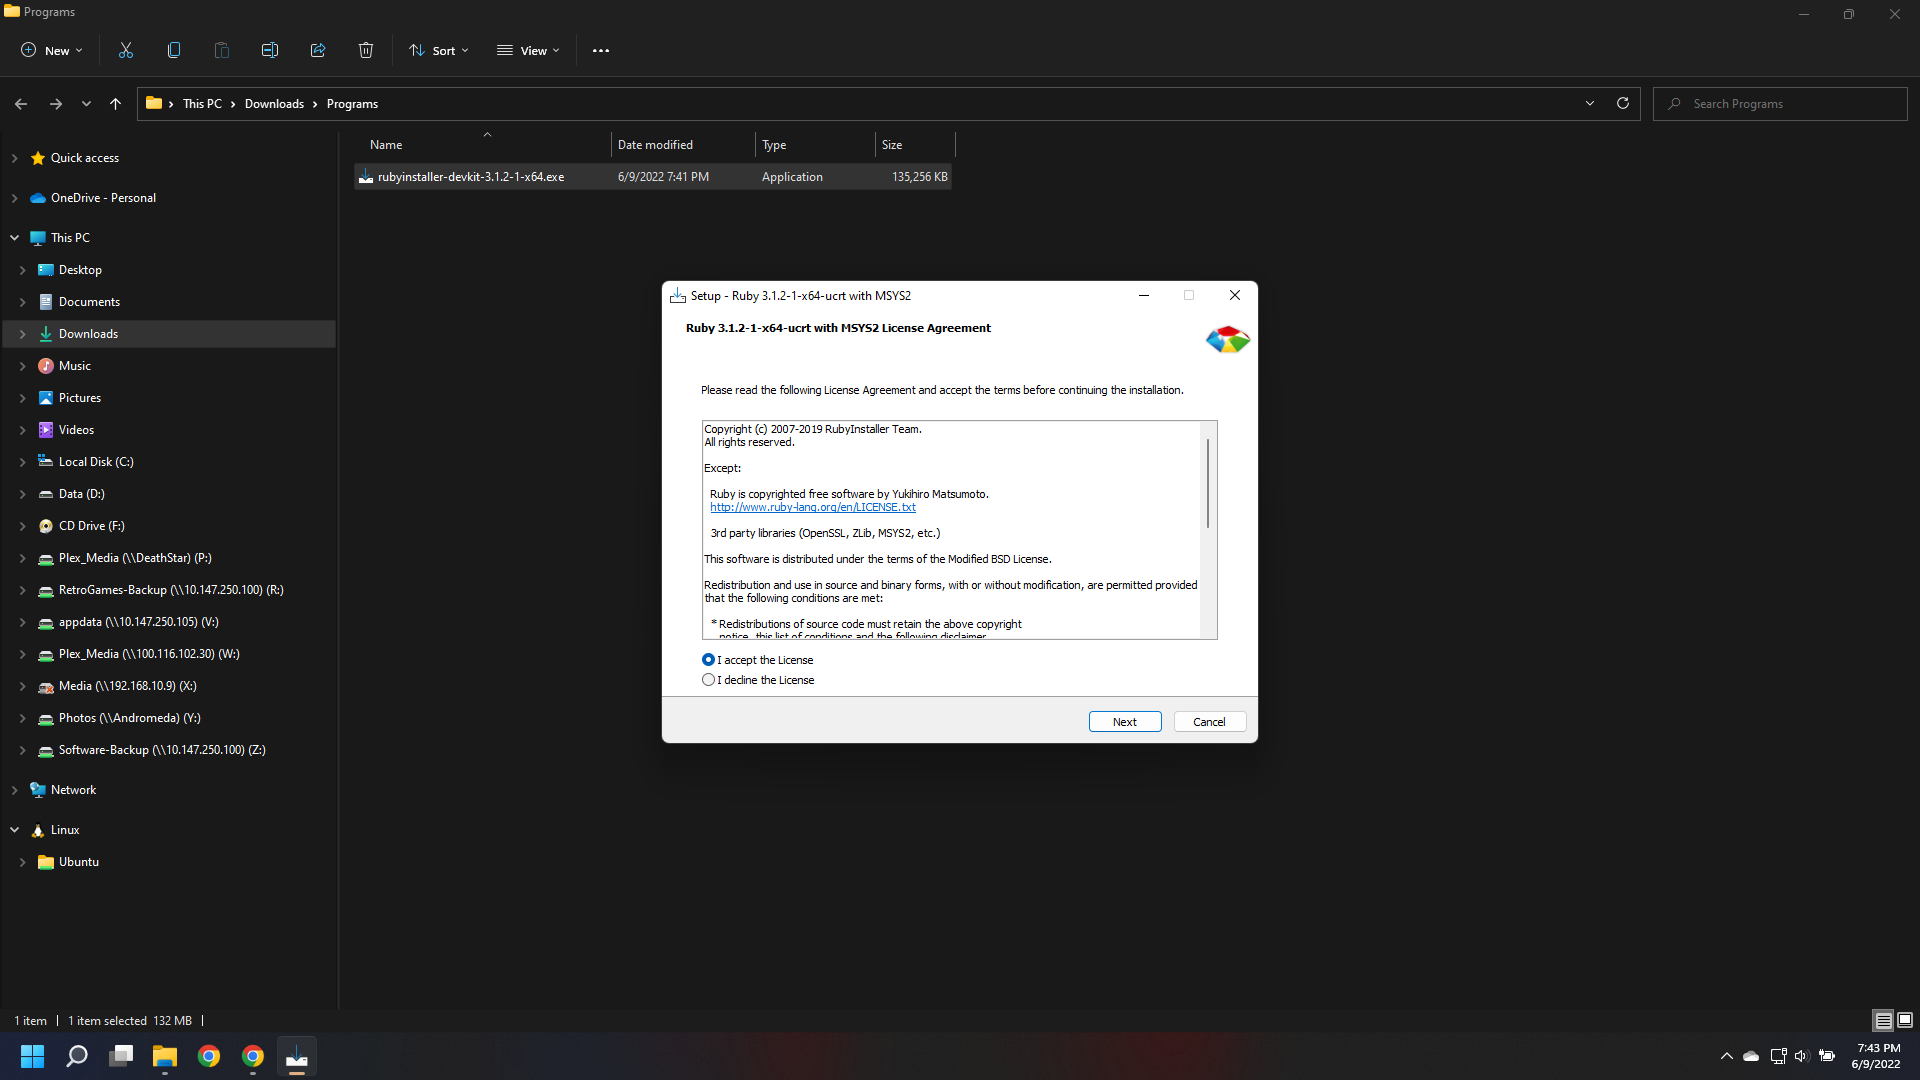
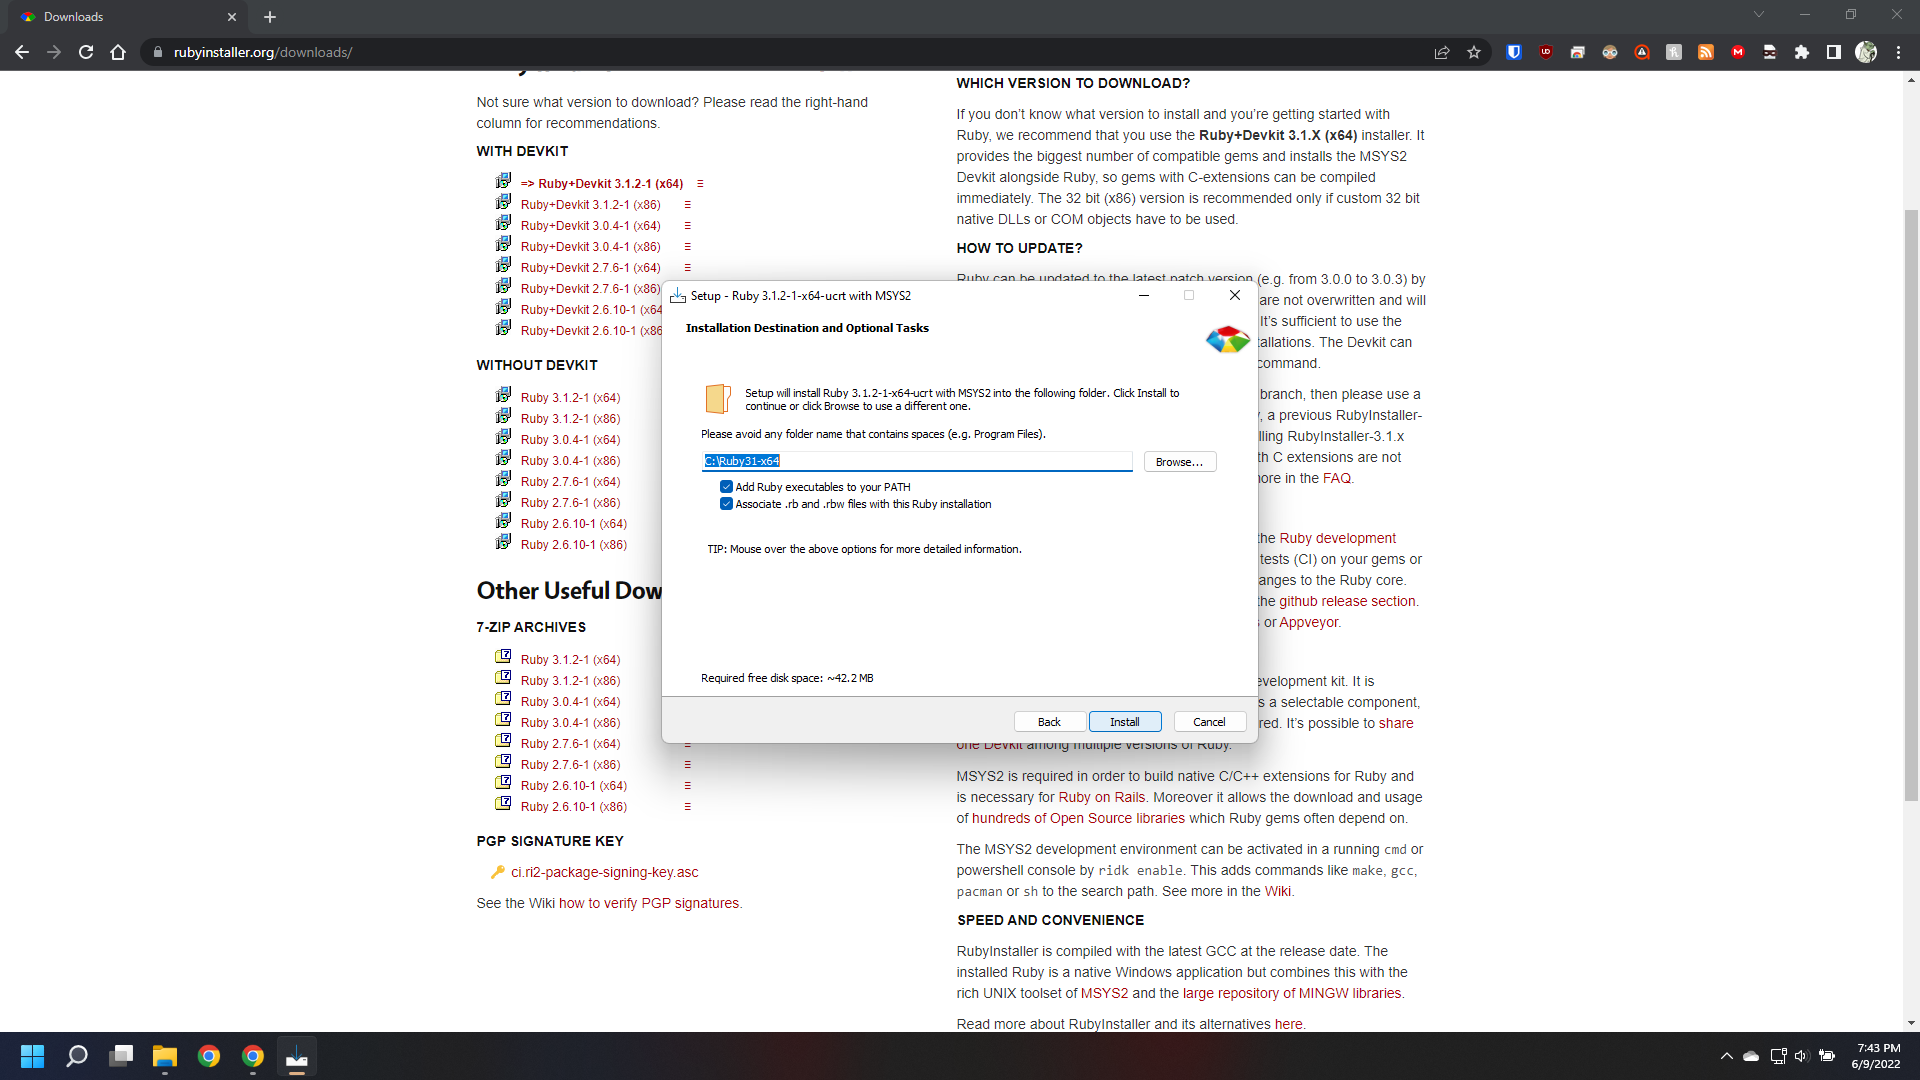
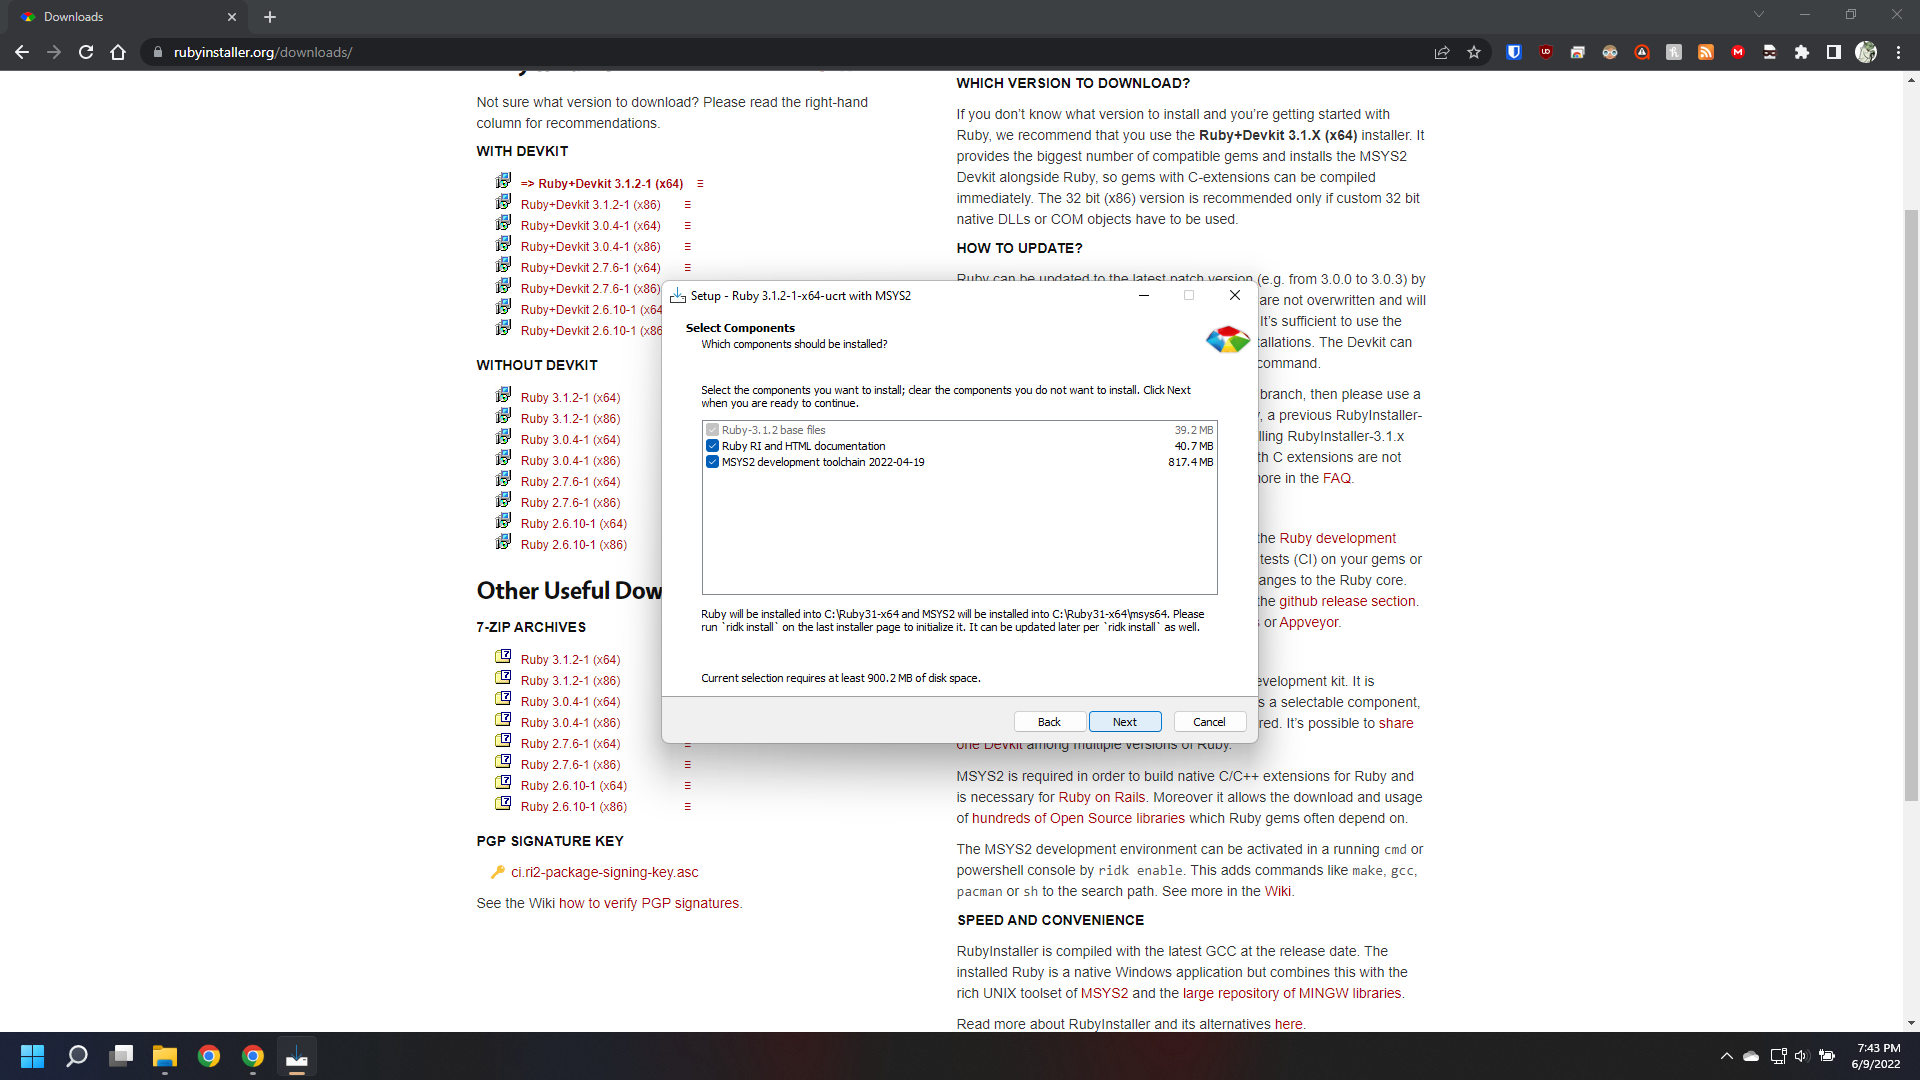
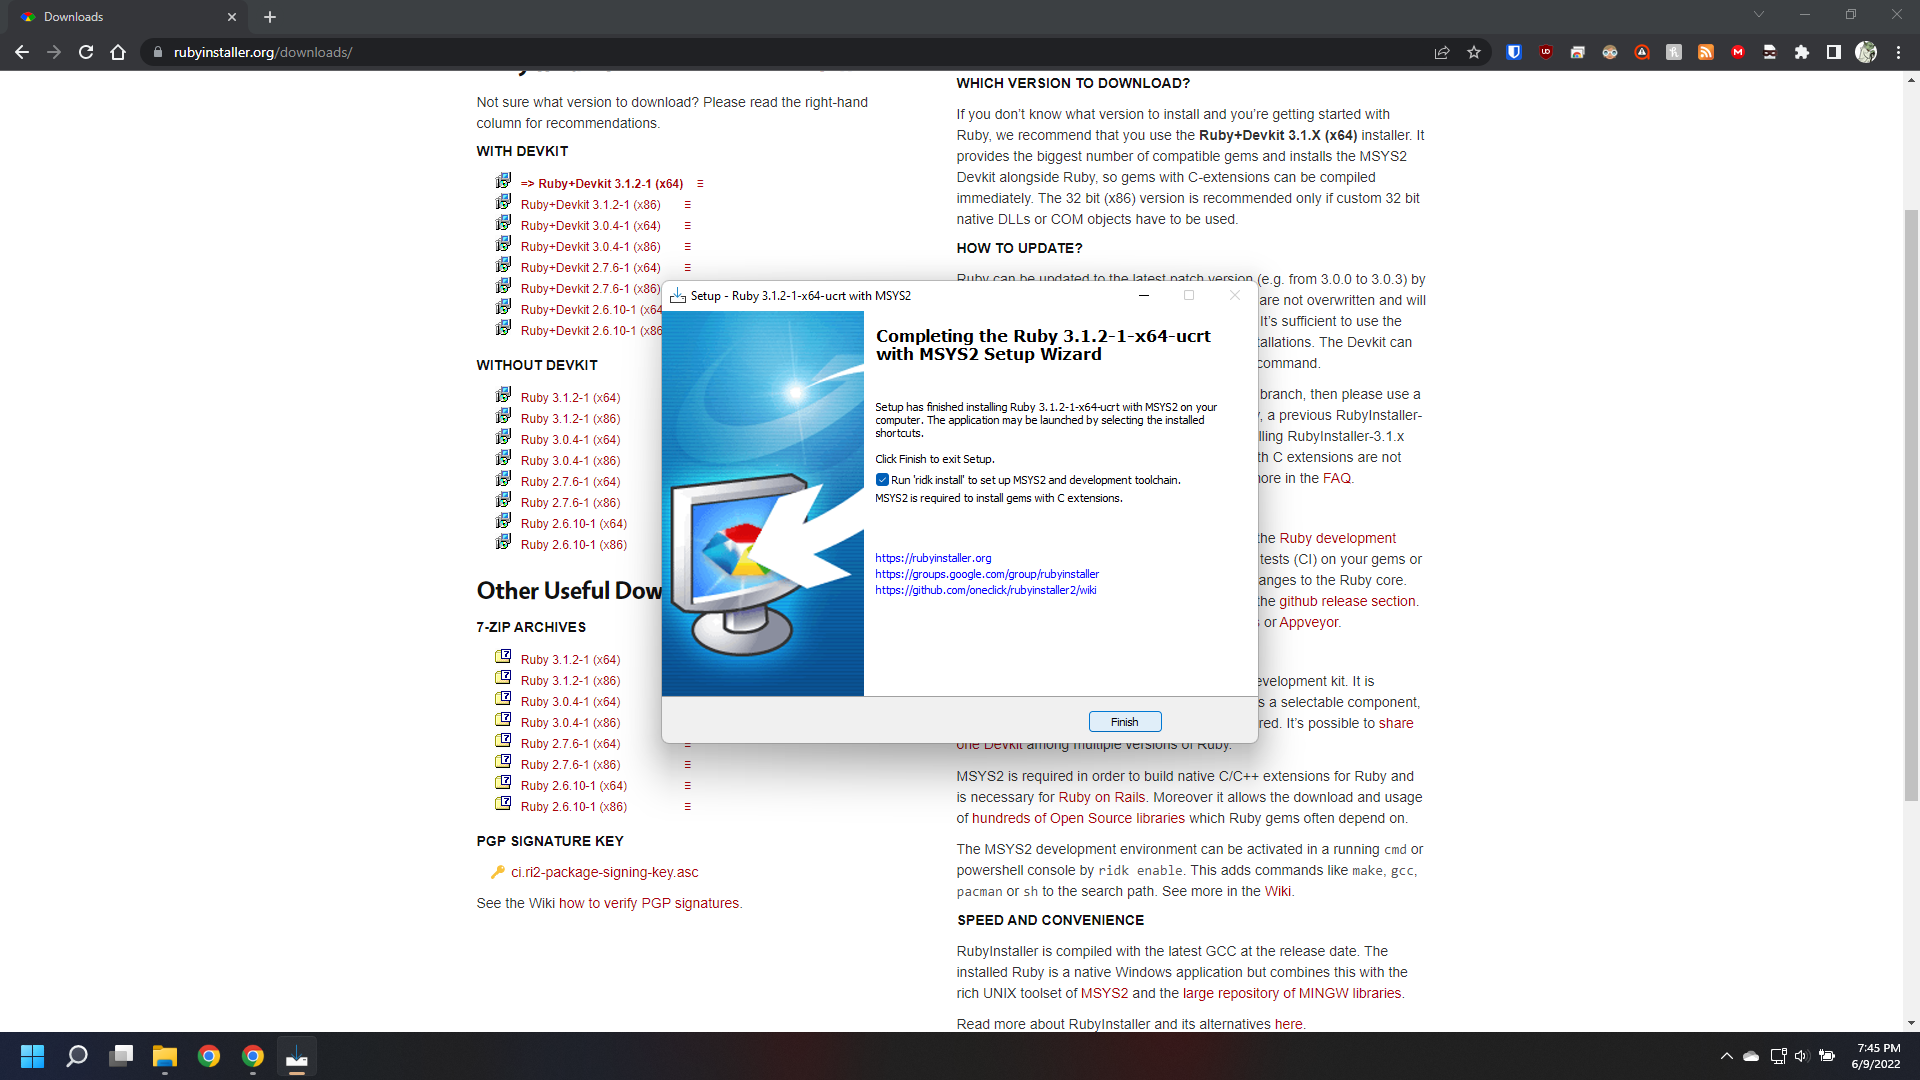
During the last steps of Ruby installation, a Command window is opened and it asks you to setup “MSYS2”; You will need to do all 3 options one at a time.
Screenshots
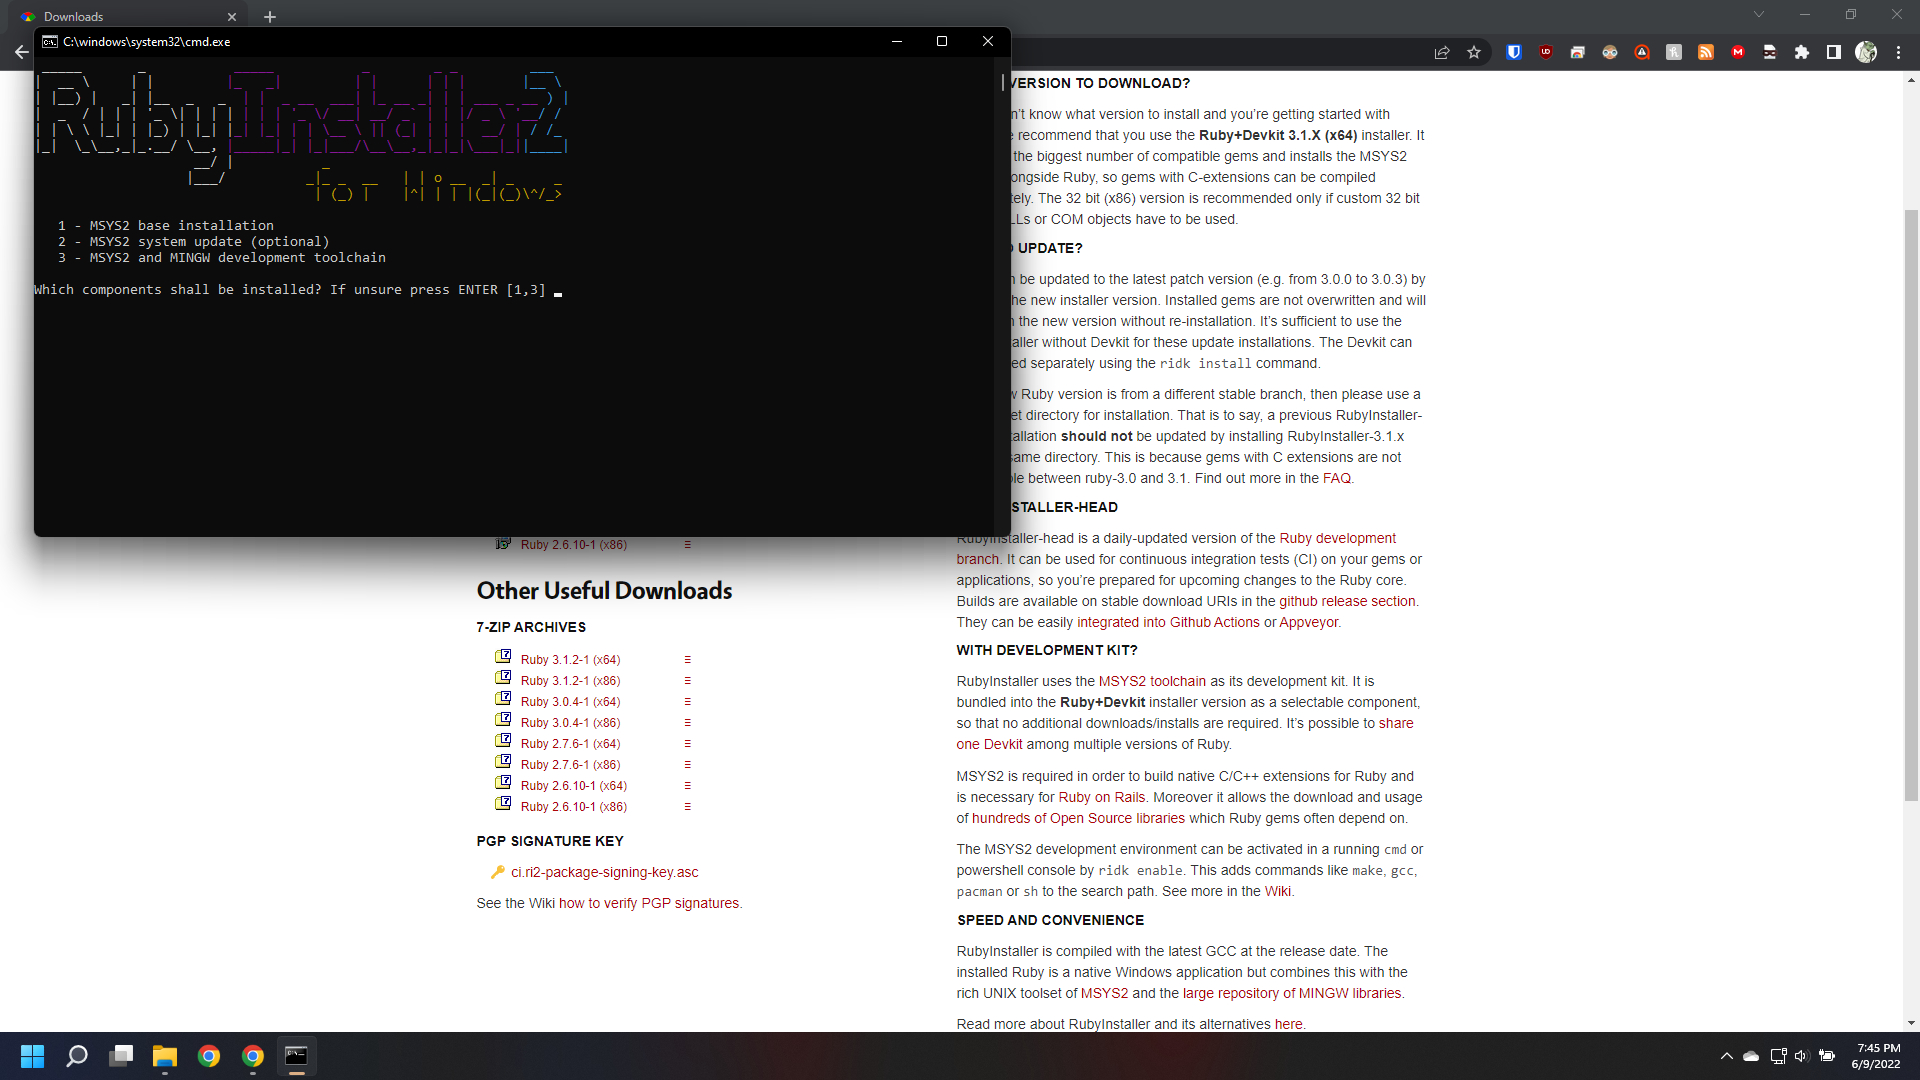
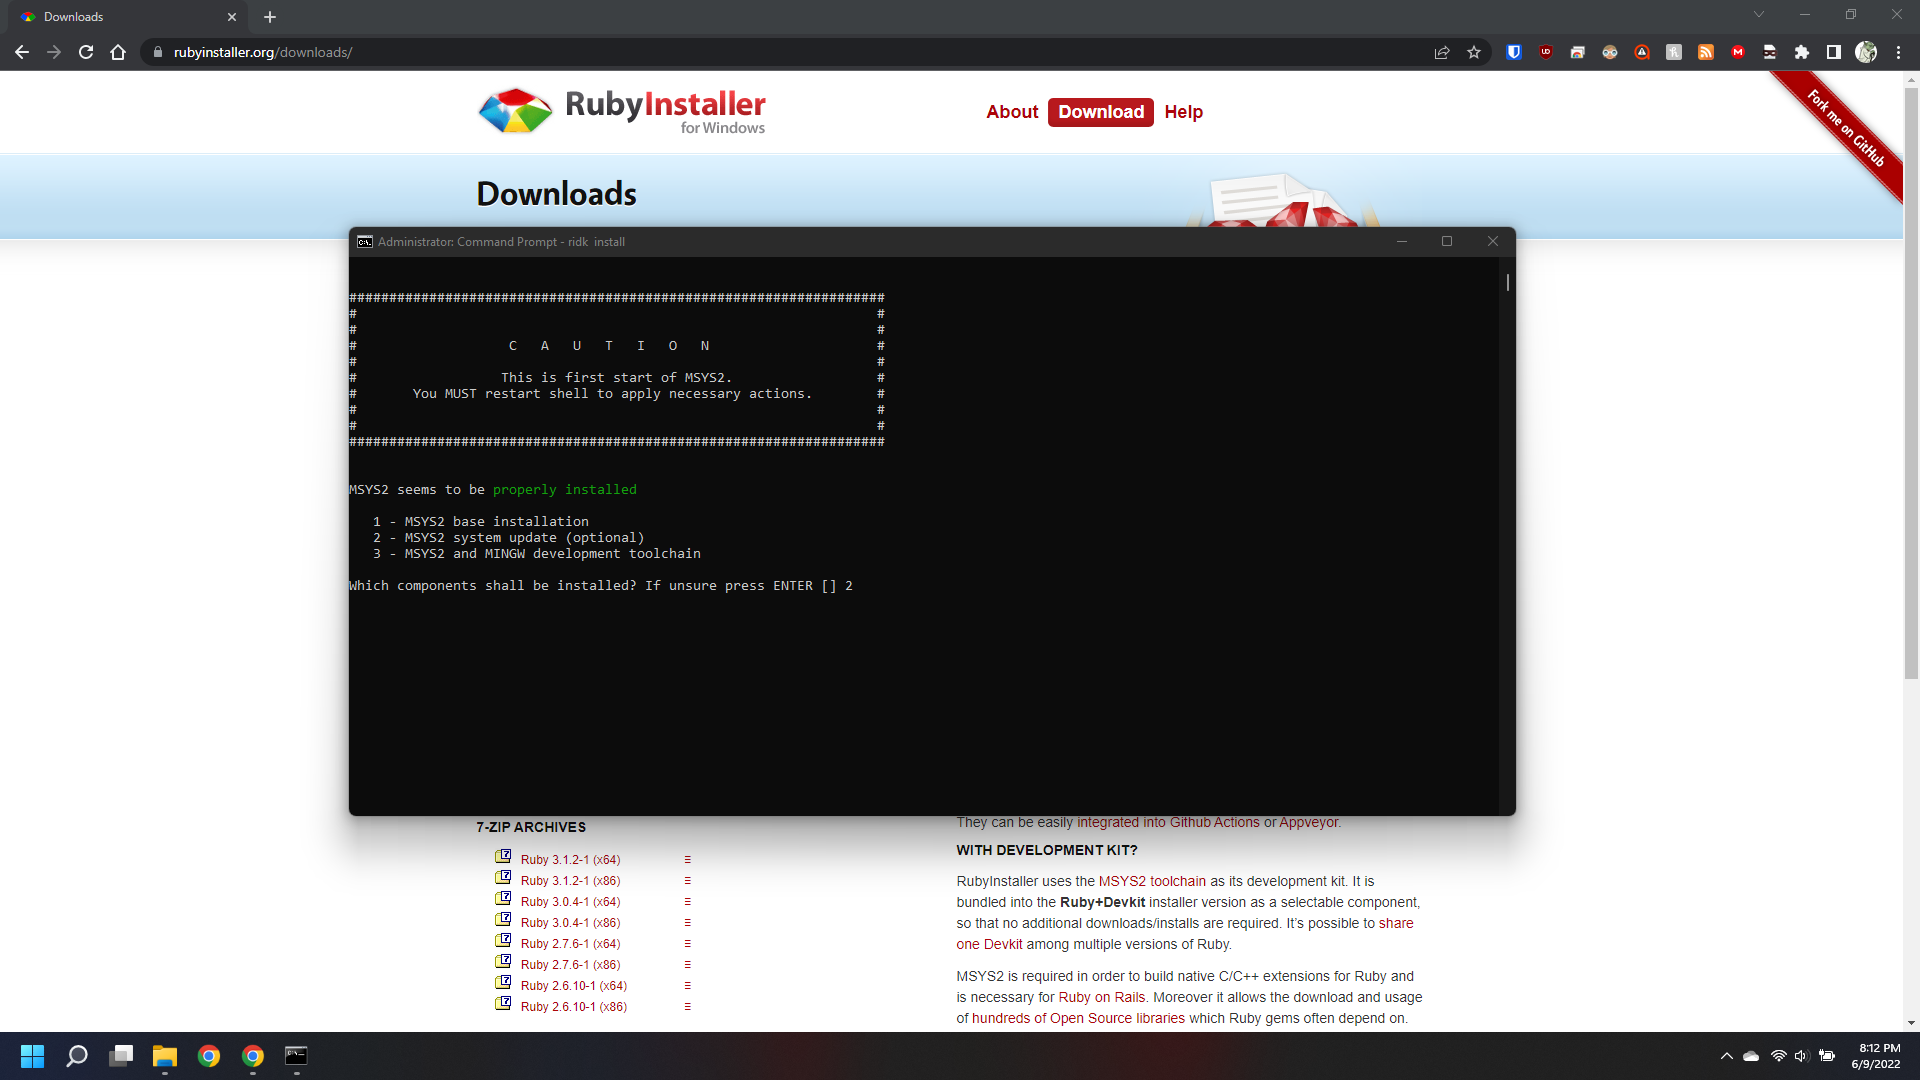
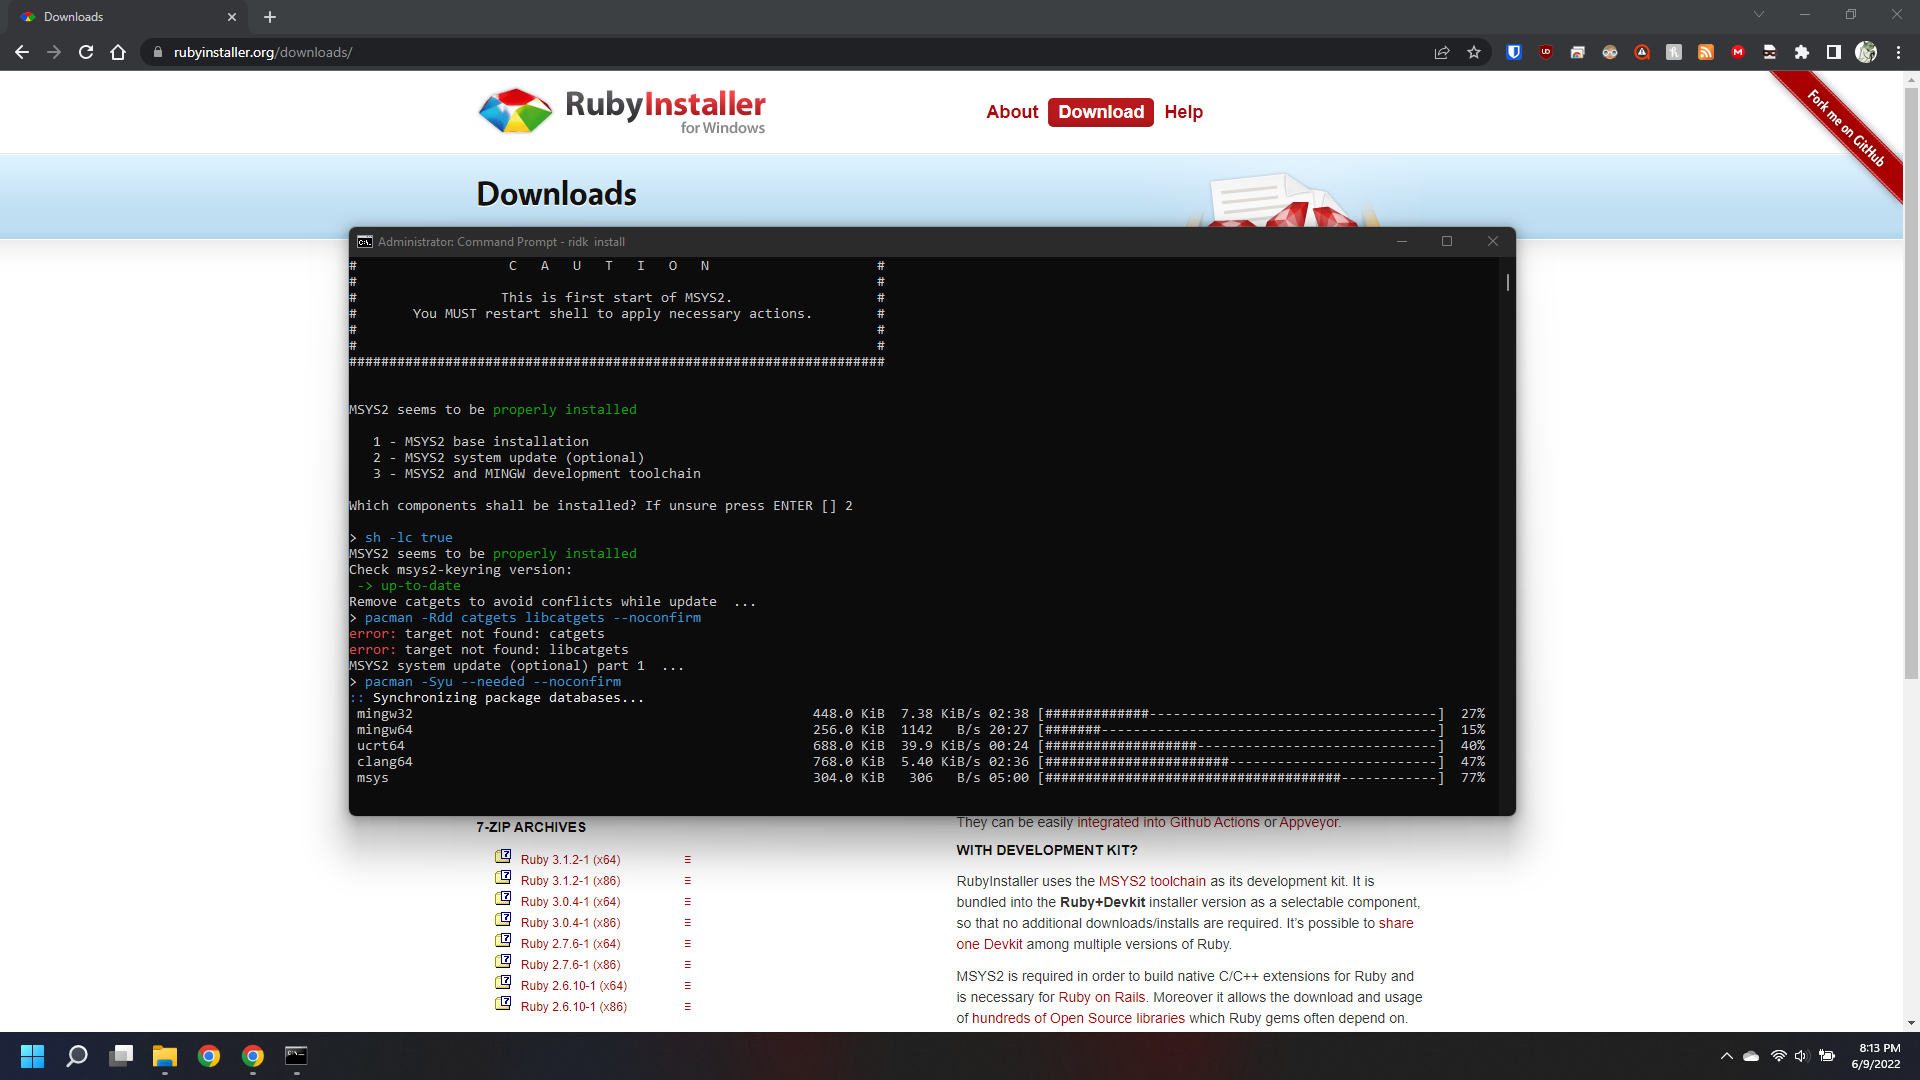
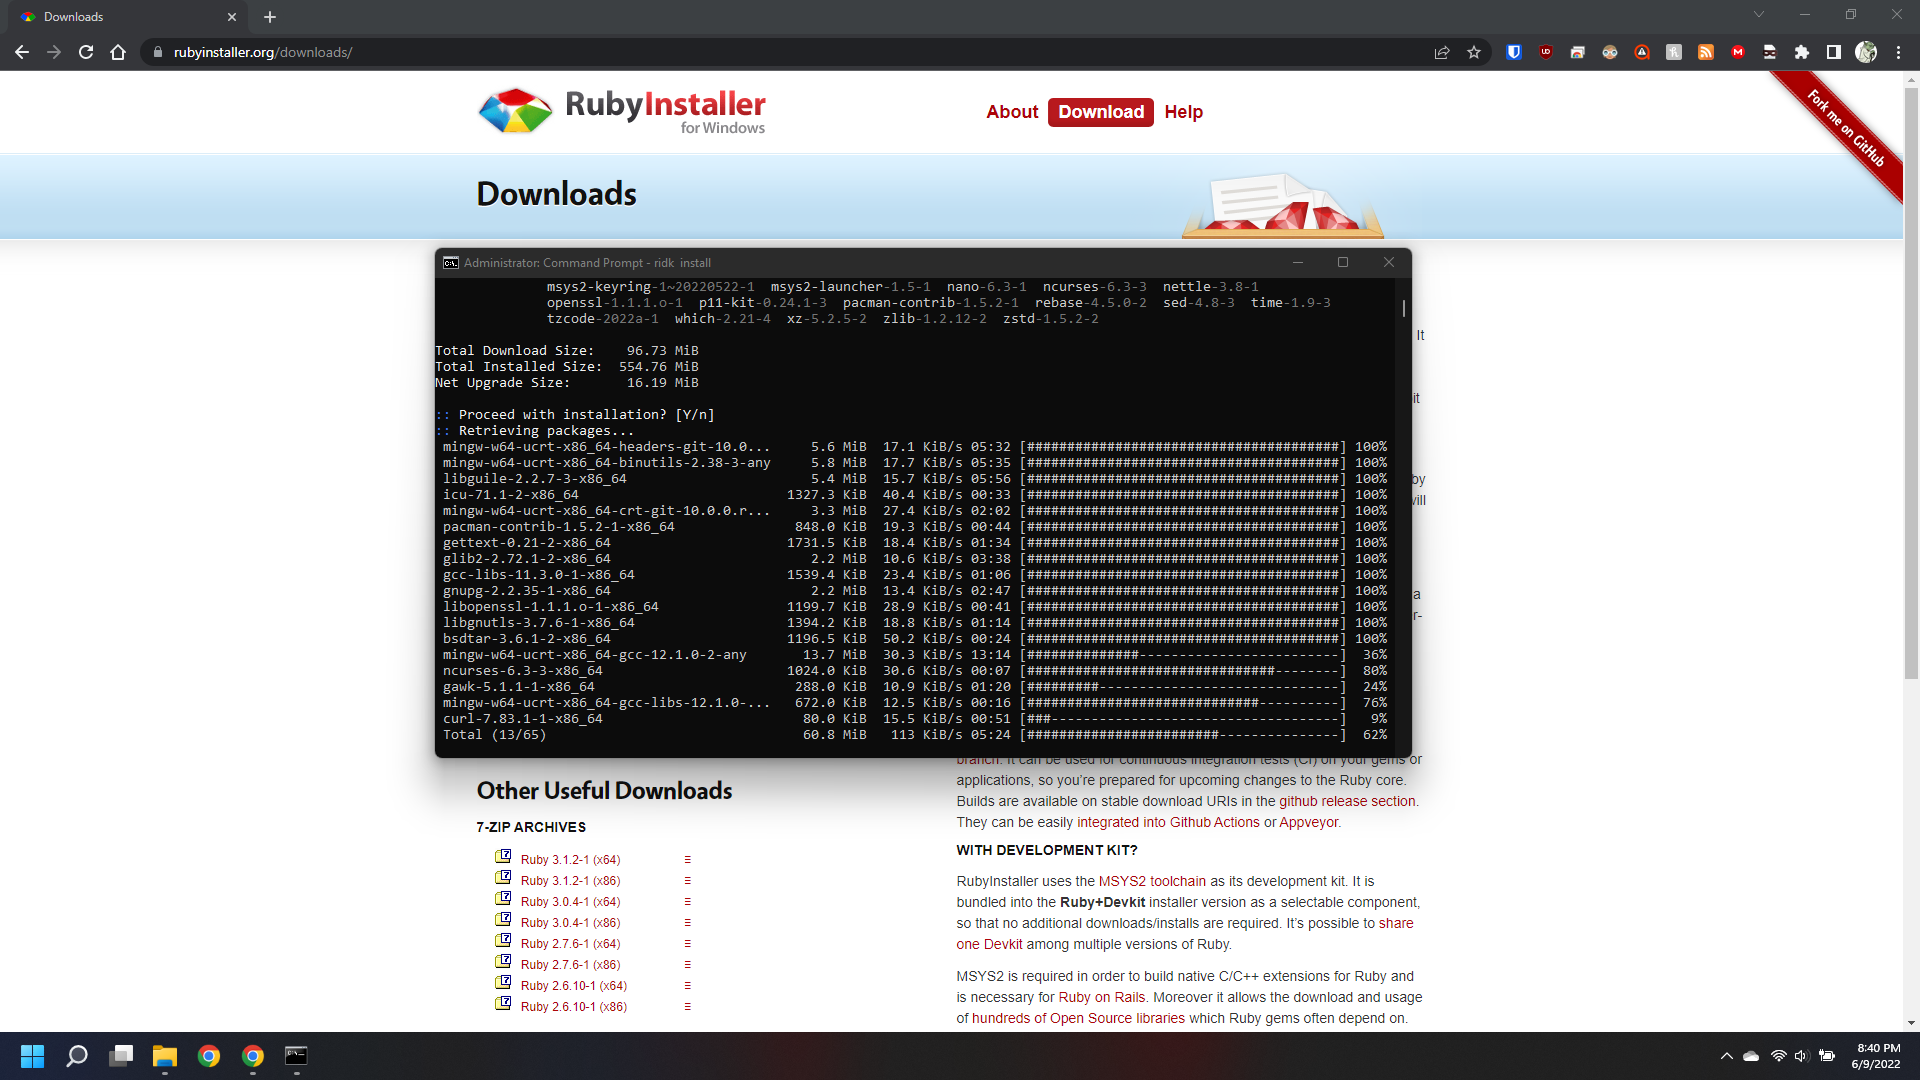
Once you finish is recommended that you reboot your computer.
After rebooting you can confirm that Ruby and Gem are installed and accessible anywhere from your command line by typing the following on the command/terminal window.
For Ruby.
1
 ruby -v
For Gem.
1
 gem -v
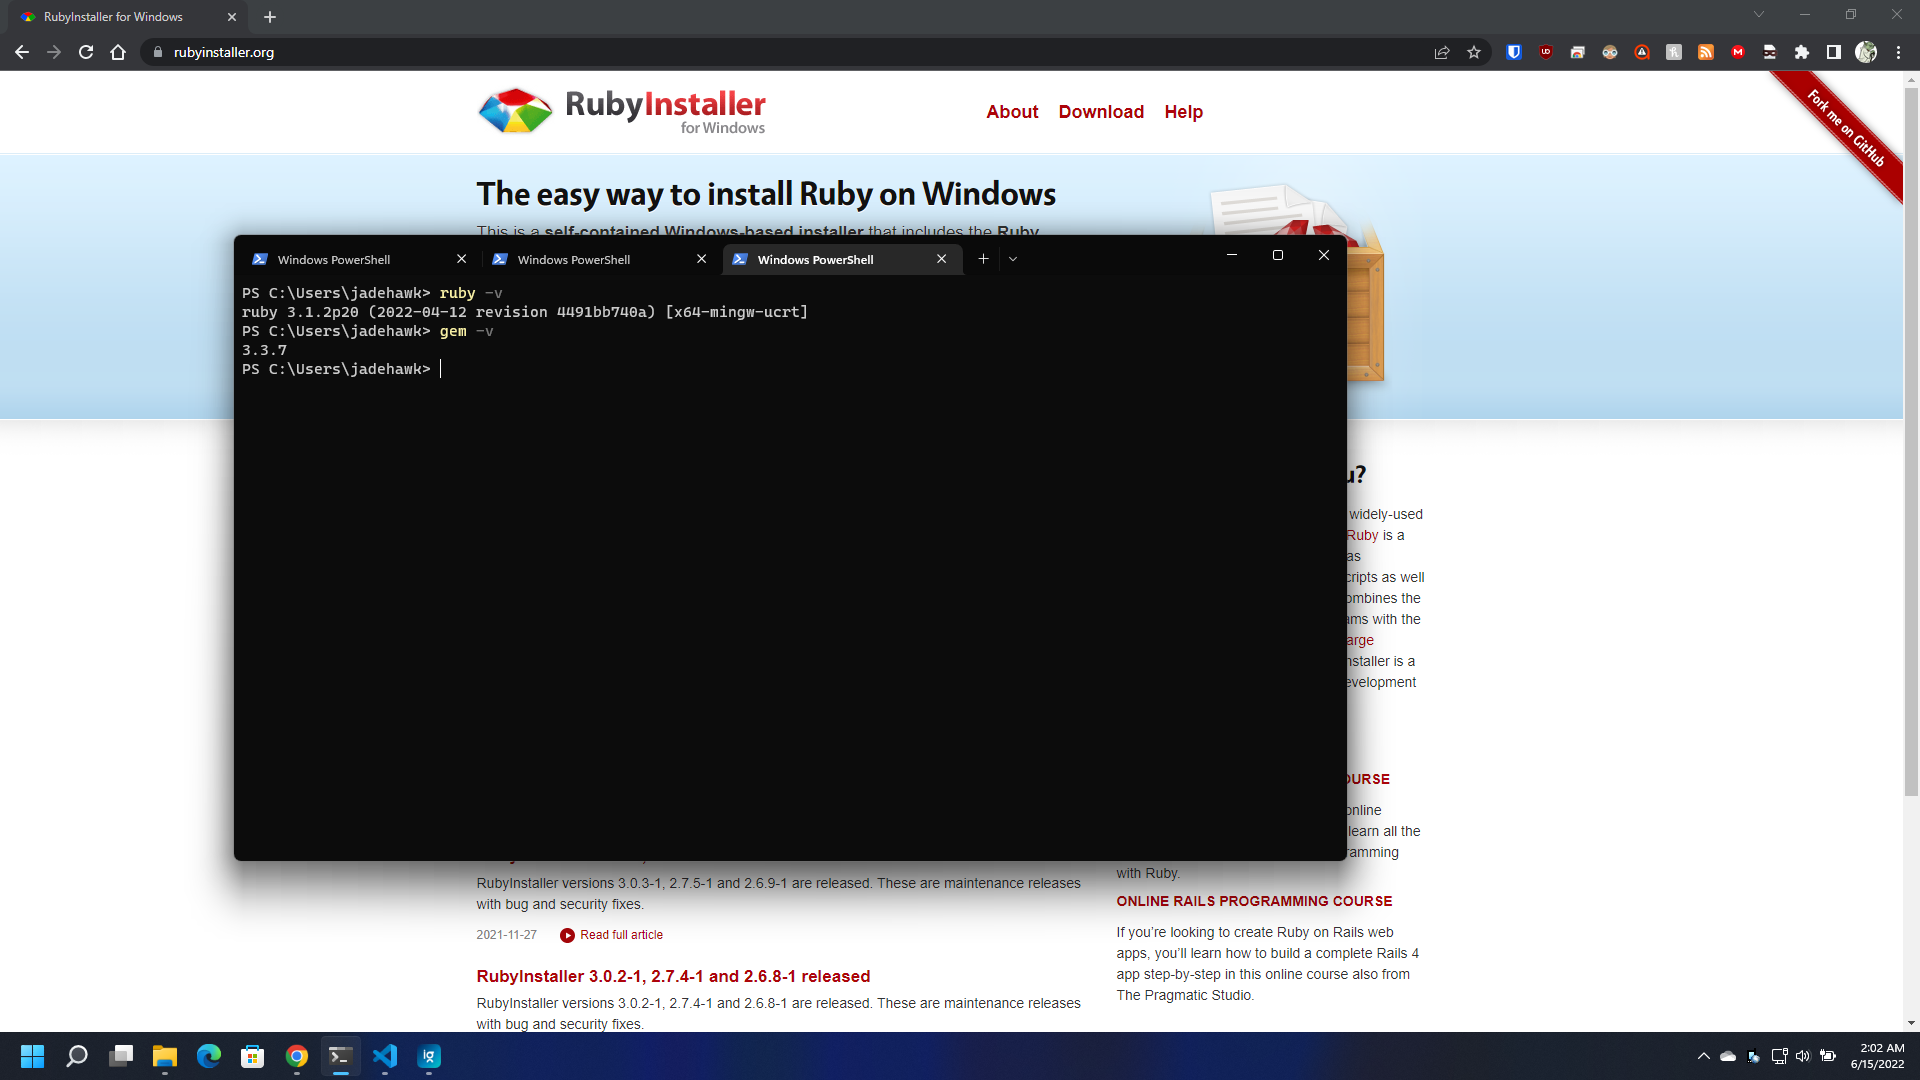
As you can see in the above screenshot.
The result of ruby -v was:
1
    ruby 3.1.2p20 (2022-04-12 revision 4491bb740a) [x64-mingw-ucrt].
And for gem -v was:
1
    3.3.7
Installing Jekyll
Jekyll is installed using by the following command:
1
    gem install jekyll
Installing Bundler
Bundler is Installed using the following command:
1
    gem install bundler
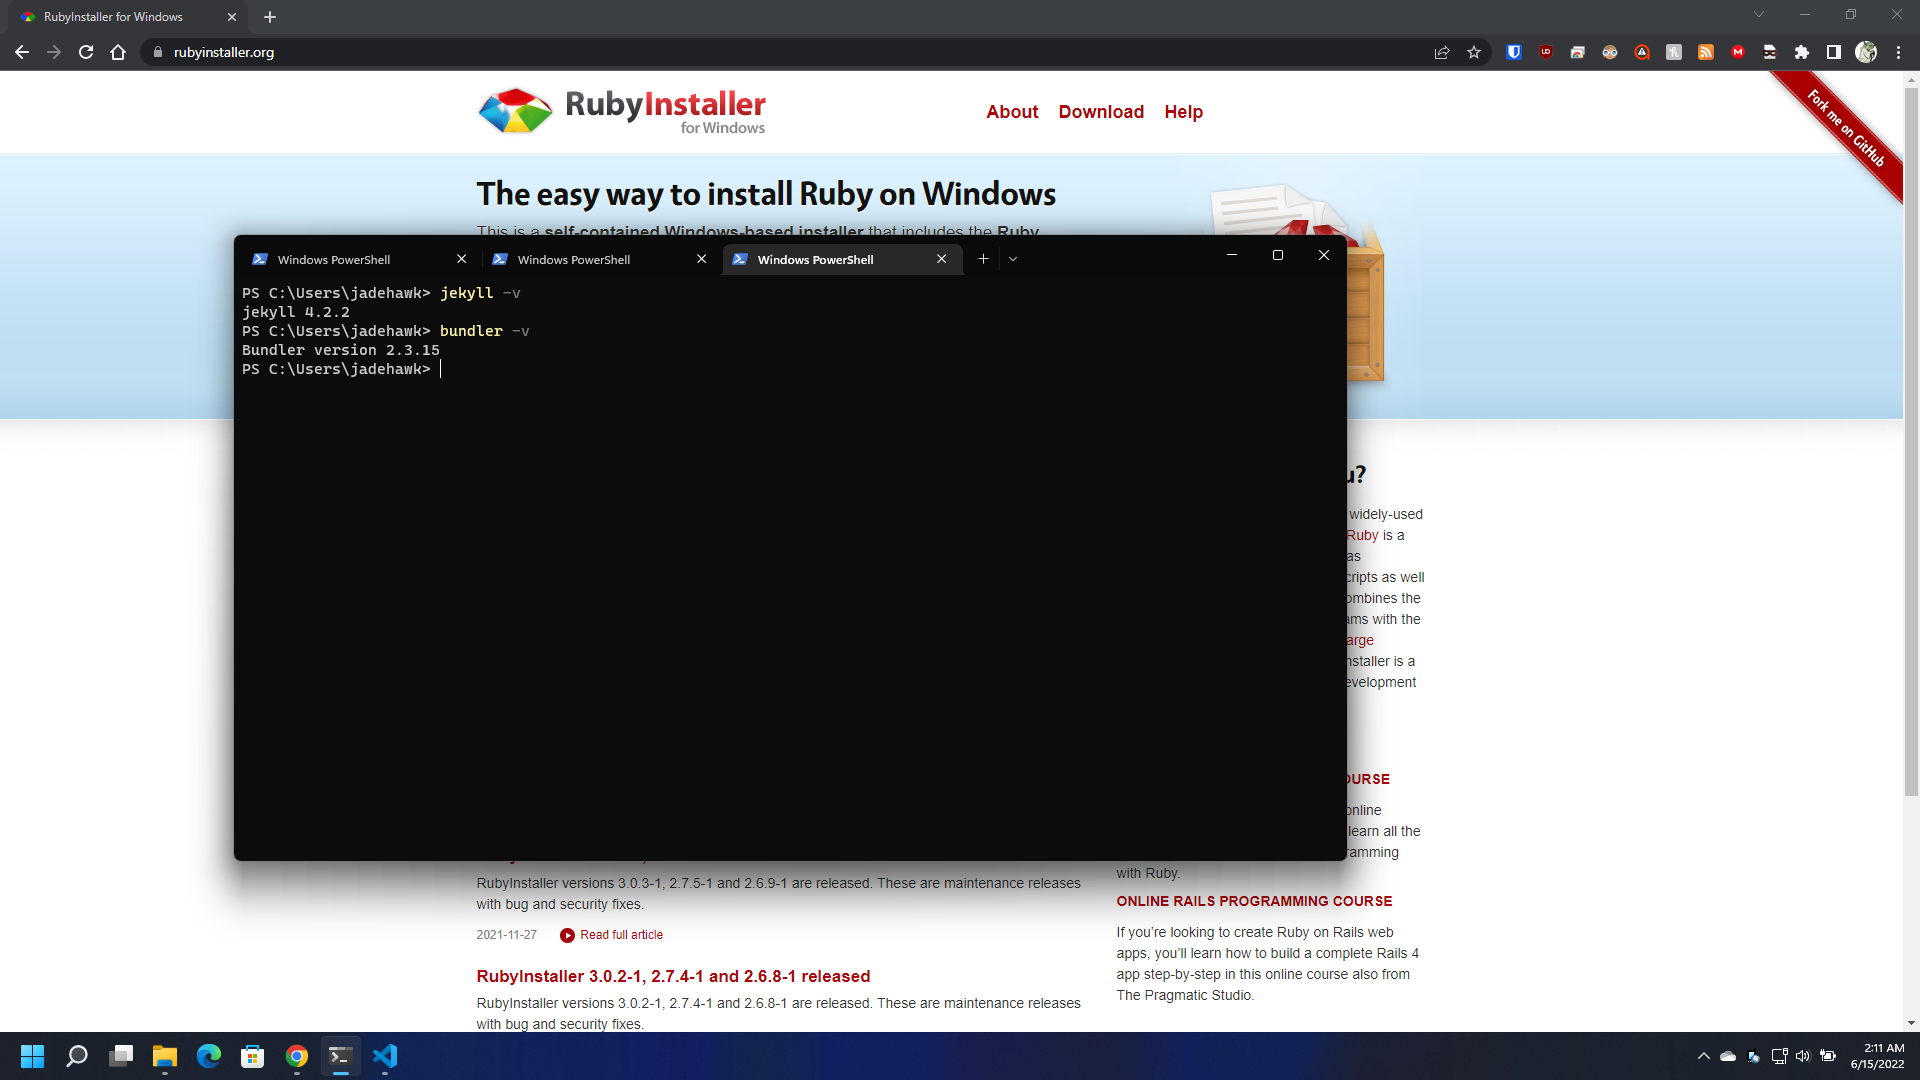
If you did this correctly you should be able to get their version by doing:
1
2
3
    jekyll -v

    bundler -v
You can see my results on the screenshot bellow:
Create our Github Repository
Now we will create our new repository on github and clone the custom theme into it.
You can easily install the theme directly using:
But apparently it leaves the enduser with having to manage dependancies manually.
So by cloning the theme repo directly it makes this unnecesary and easier for us.
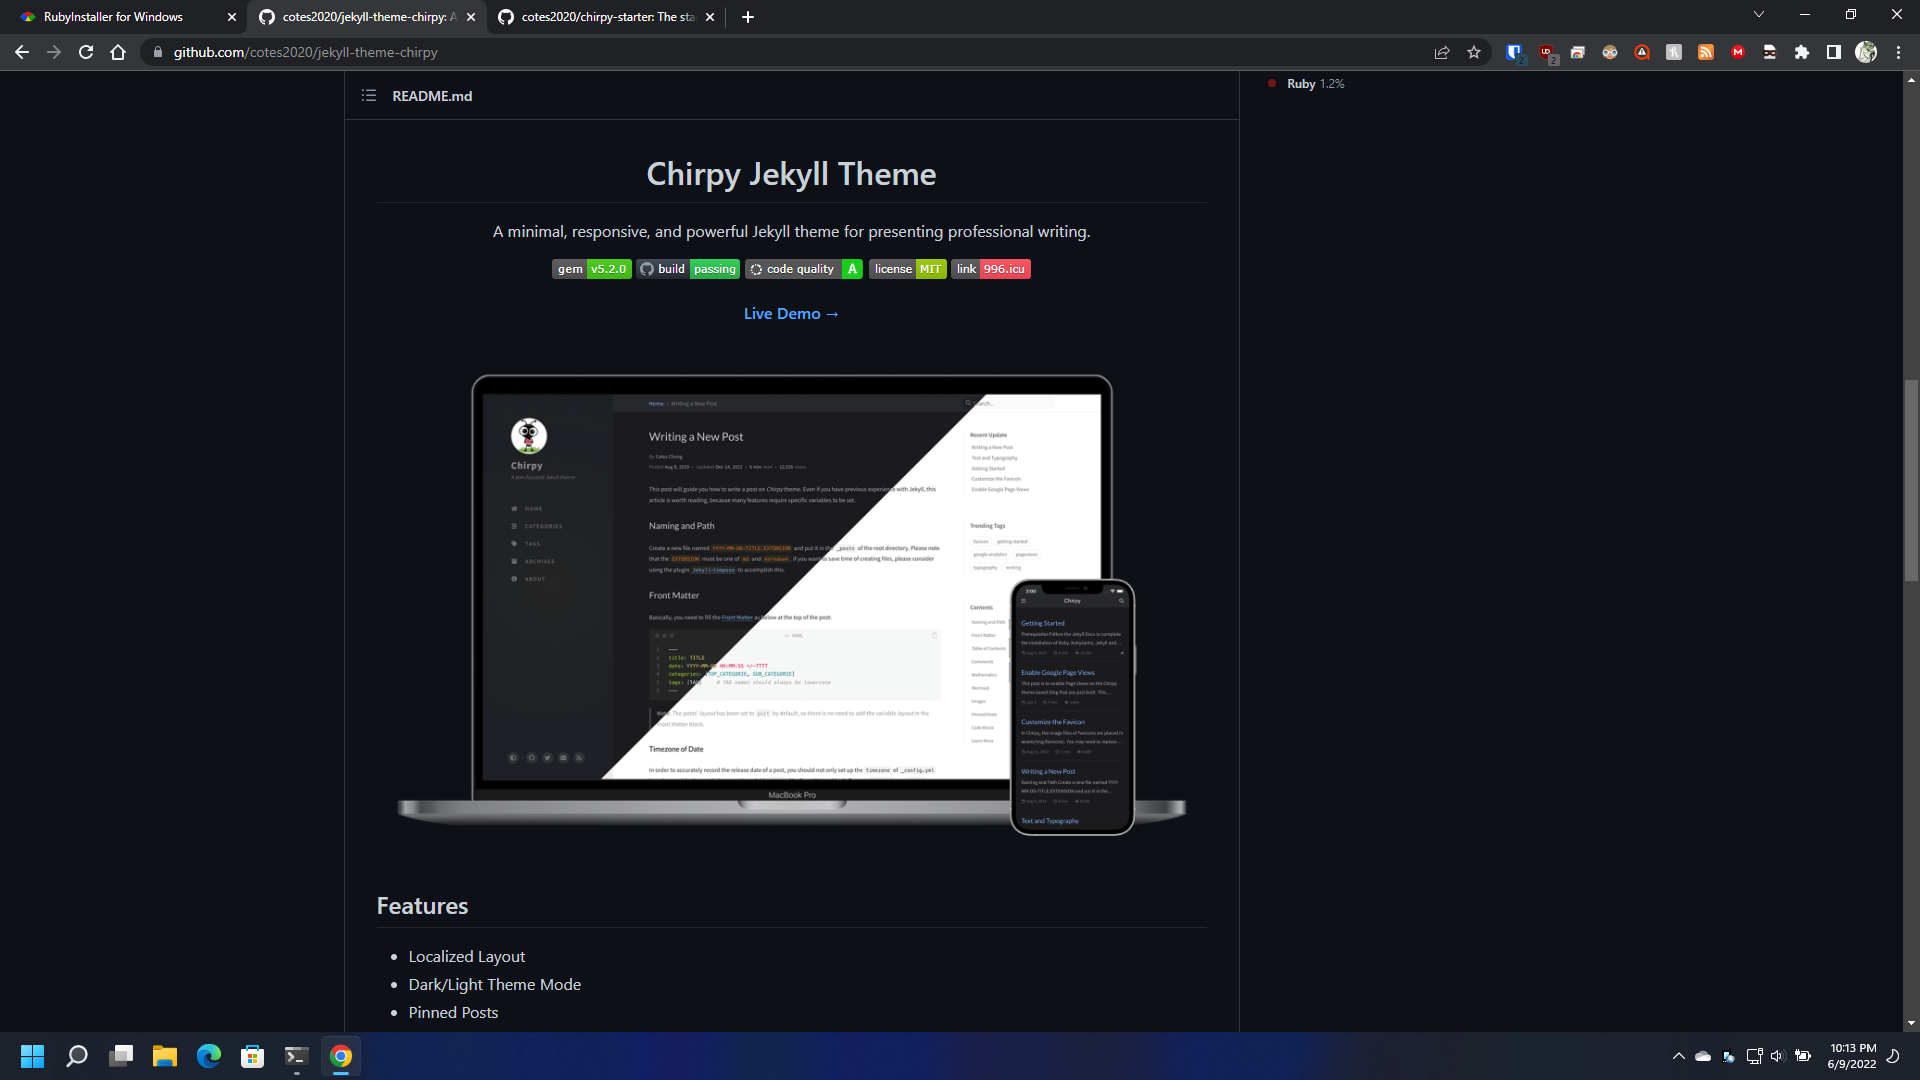
Head over to the theme repo. In this tutorial we are using Jekyll-Theme-Chirpy This is the same beautiful theme showcased on Techno Tim’s Video.
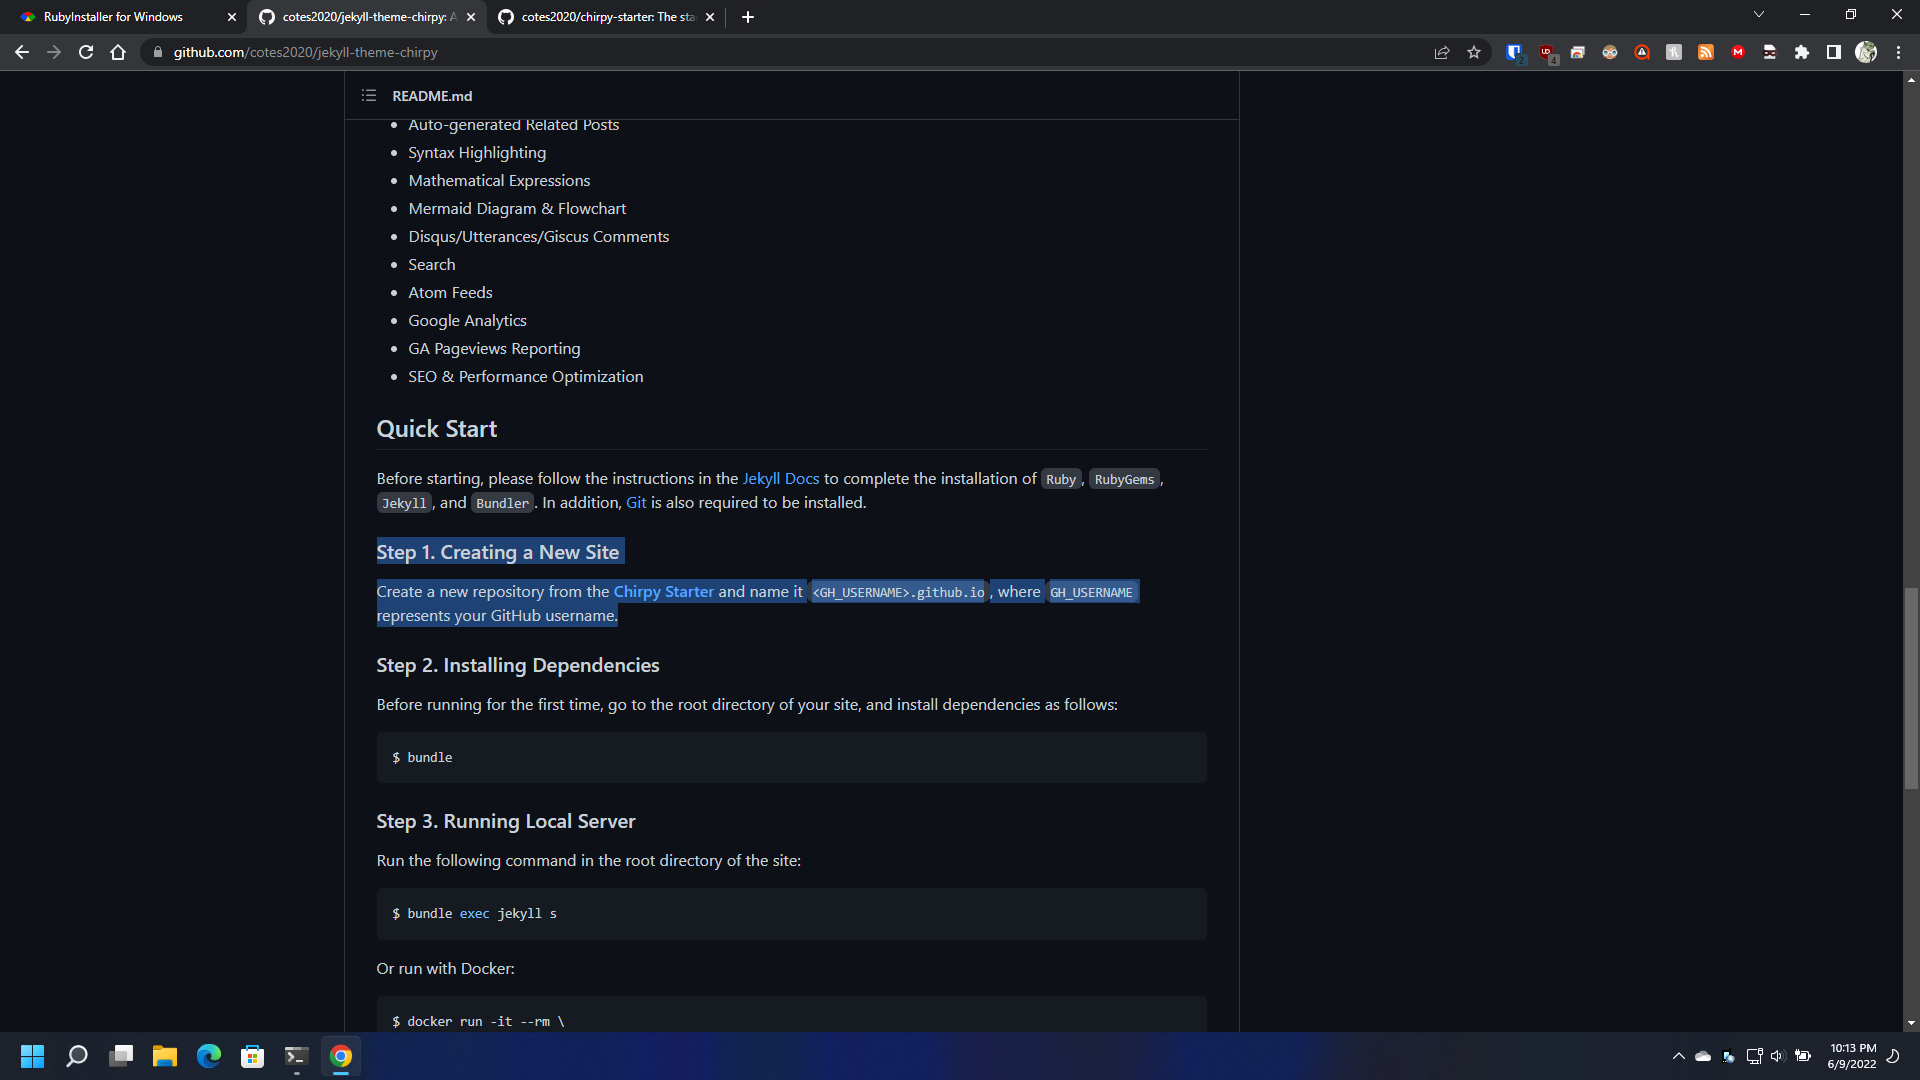
If you read halfway you will find at “STEP 1 - Creating a New Site” that the theme developer has made it easy for us to clone the theme by using his Chirpy Starter
Screenshots
Chirpy Starter
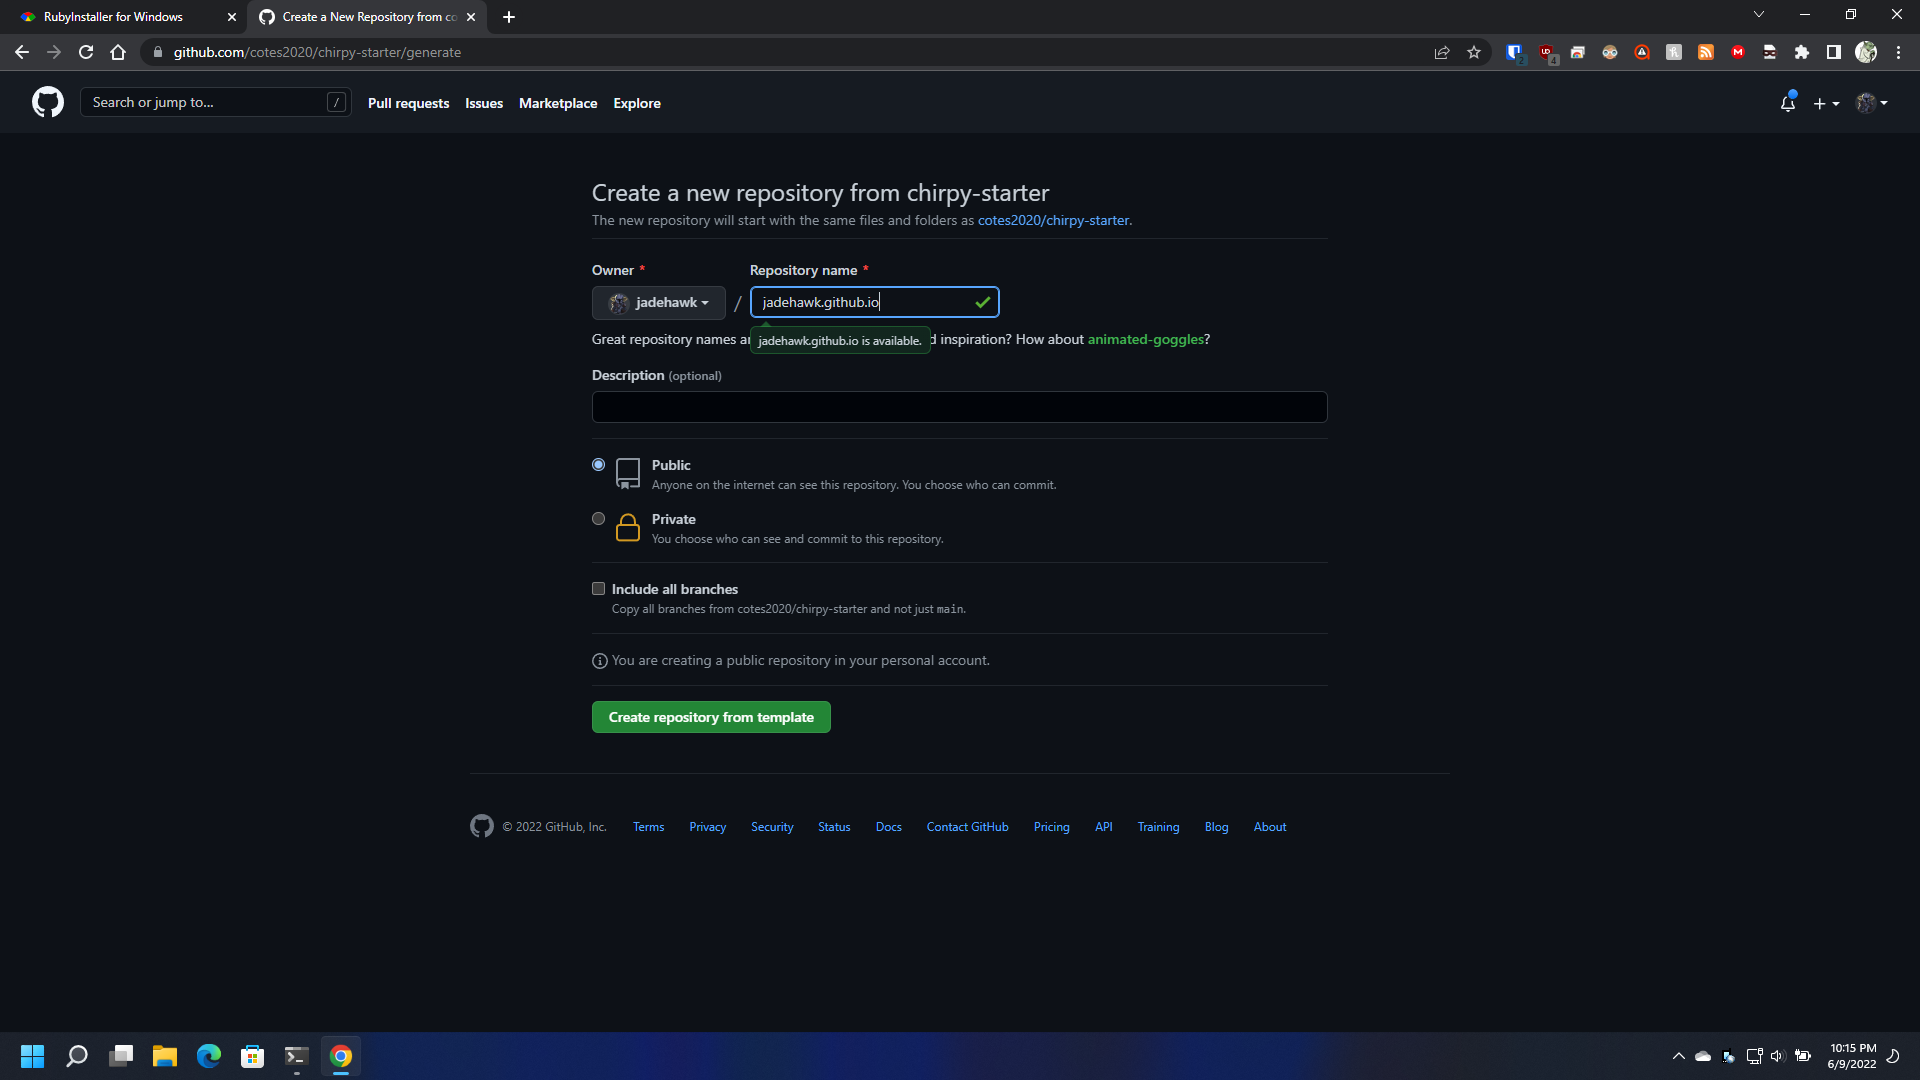
To host your site for FREE on Github. Your repository must be set as “PUBLIC” and you must name your repo as follow : github-username.github.io
As you can see in the screenshot above, in my case it’s: jadehawk.github.io
Go ahead and fill in the info with your username.github.io and hit “Create Repository from Template” this will generate a new repository with all the Chirpy Theme dependencies ready for us to use.
Cloning your new Repo to your PC
Open up a Terminal / Command Line window and navigate to the root folder where you want to clone the repo to.
We will use GIT to clone the repo as follow:
1
git clone HTTPS://REPO-URL.GITHUB.IO
You can get the URL from the repo Code Section in my case it’s: https://github.com/jadehawk/jadehawk.github.io.git See Screenshot below:
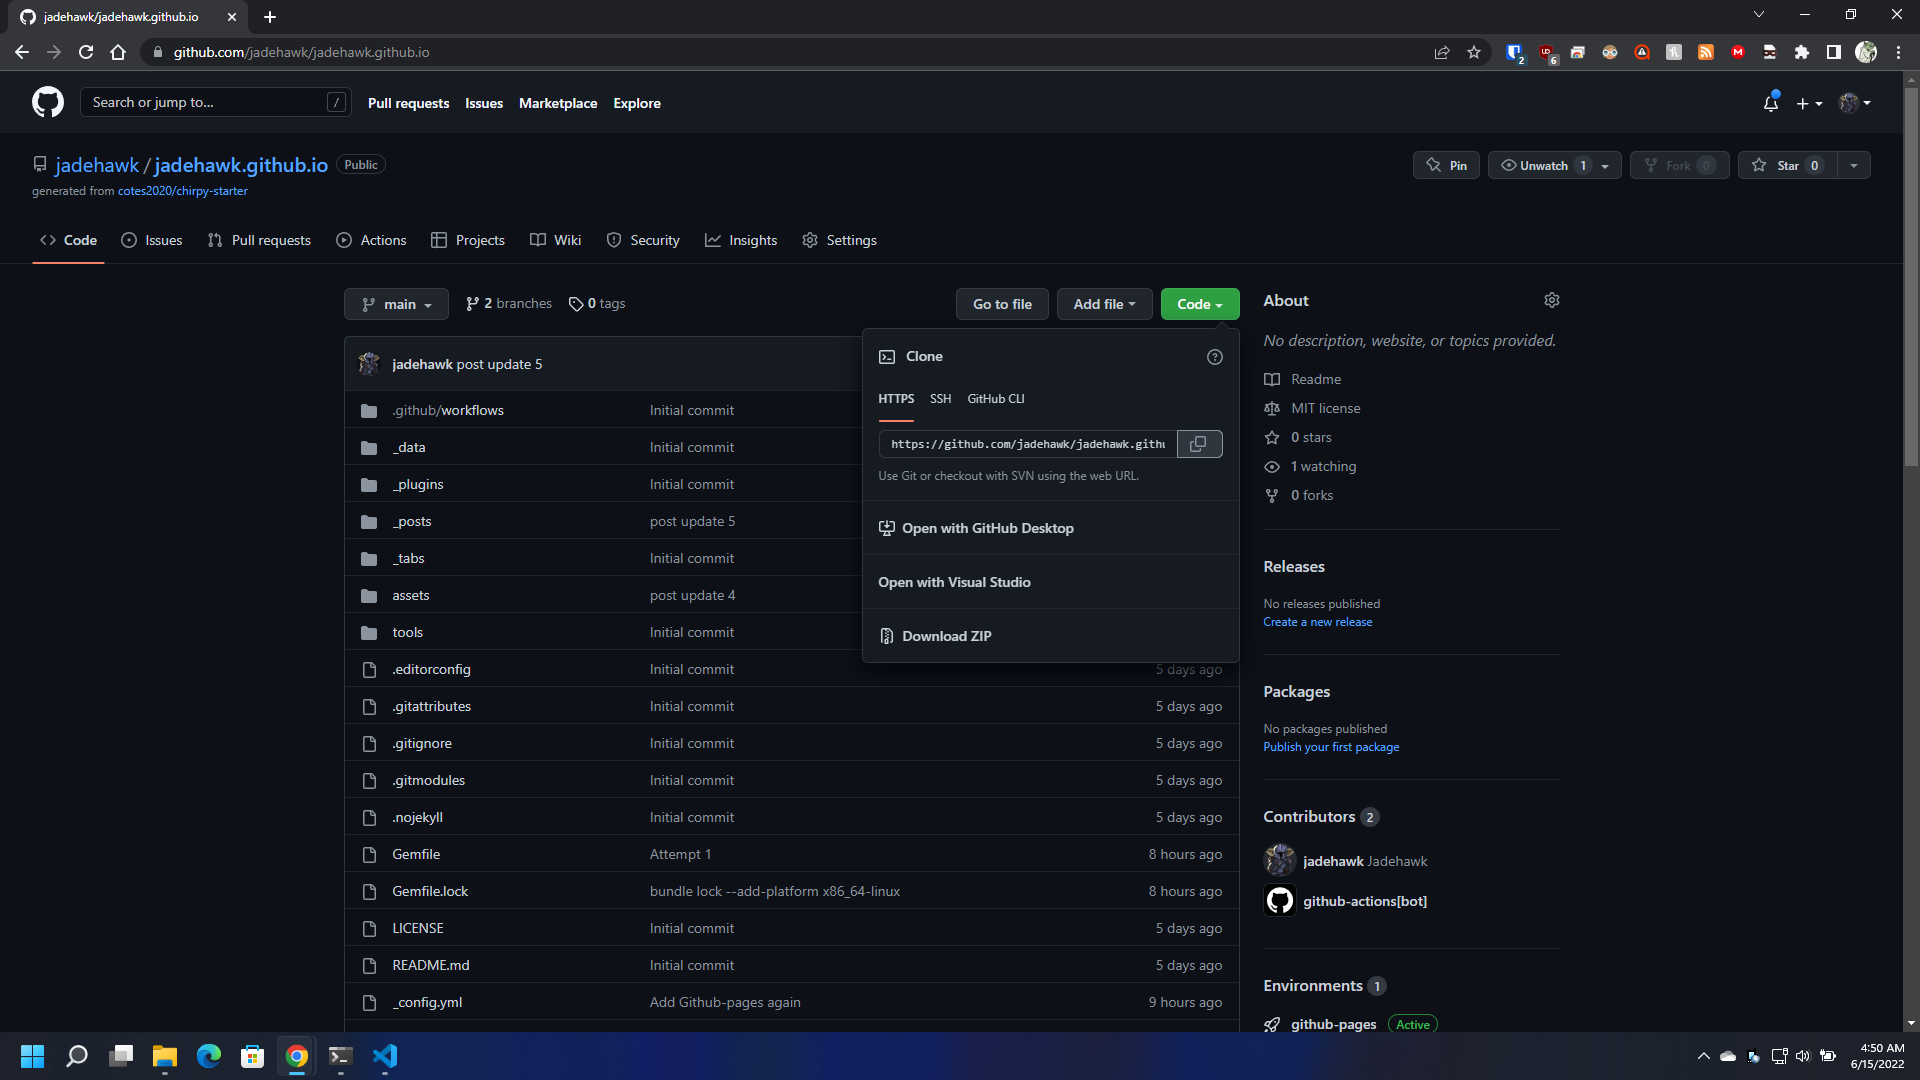
So my Terminal/Command Line code should look like this:
1
    git clone https://github.com/jadehawk/jadehawk.github.io.git
This will clone your repo locally and we can then navigate to the new folder “username.github.io” and we can see the same content that is on the repo.
Make some changes to our _config.yml
We need to make some changes to the _config.yml file in the root of your freshly cloned repo.
The Jekyll-Theme-Chirpy has added a lot of things to this file but we will only concentrate on a few to get us started, the changes are needed in the following spots:
- timezone: Whatever matches your locale. (ex. America/New_York)
- title: Replace this with your website Title. (ex. Jadehawk’s Tech Notes)
- tagline: This will be display under the main title. (ex. A Small Collection Of Tutorials && Notes)
- url: This is your Github Pages url (ex. https://jadehawk.github.io)
- avatar: A URL to your avatar that will be display on the website.
Save your changes, the rest of the possible settings can be changed later as they will not affect the way your site is displayed to much.
Running Your Site Locally
The first command we need to run is:
1
            bundle

This will install all the extra dependancies listed on the file called “GemFile” and will generate another file called “Gemfile.lock” after it completes successfully.
If you already have a “Gemfile.lock” manually delete it before running the command
Now we will start our local webserver and access our local Jekyll site using the address : http://127.0.0.1:4000/ We do this by running the following command:
1
            bundle exec jekyll s
If all goes well you should see the following on your screen and be able to access a local copy of your jekyll static website. 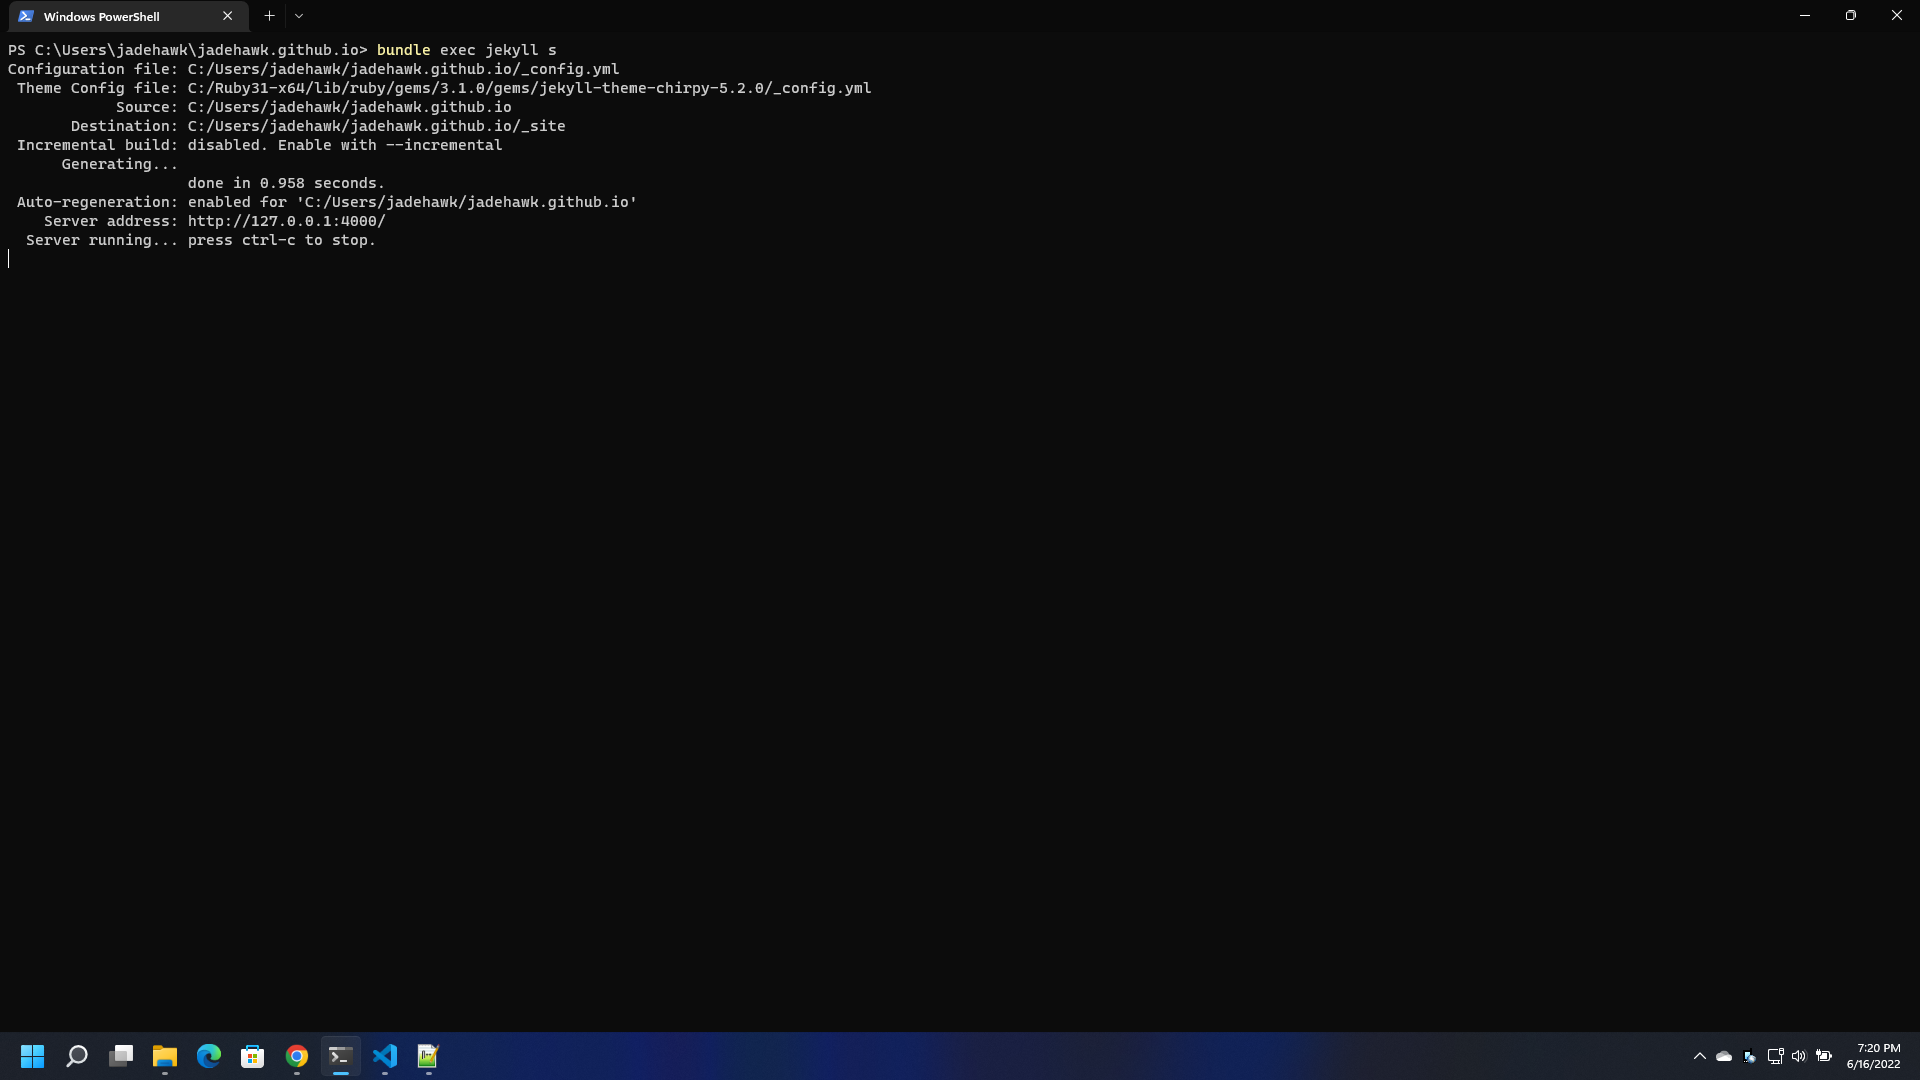
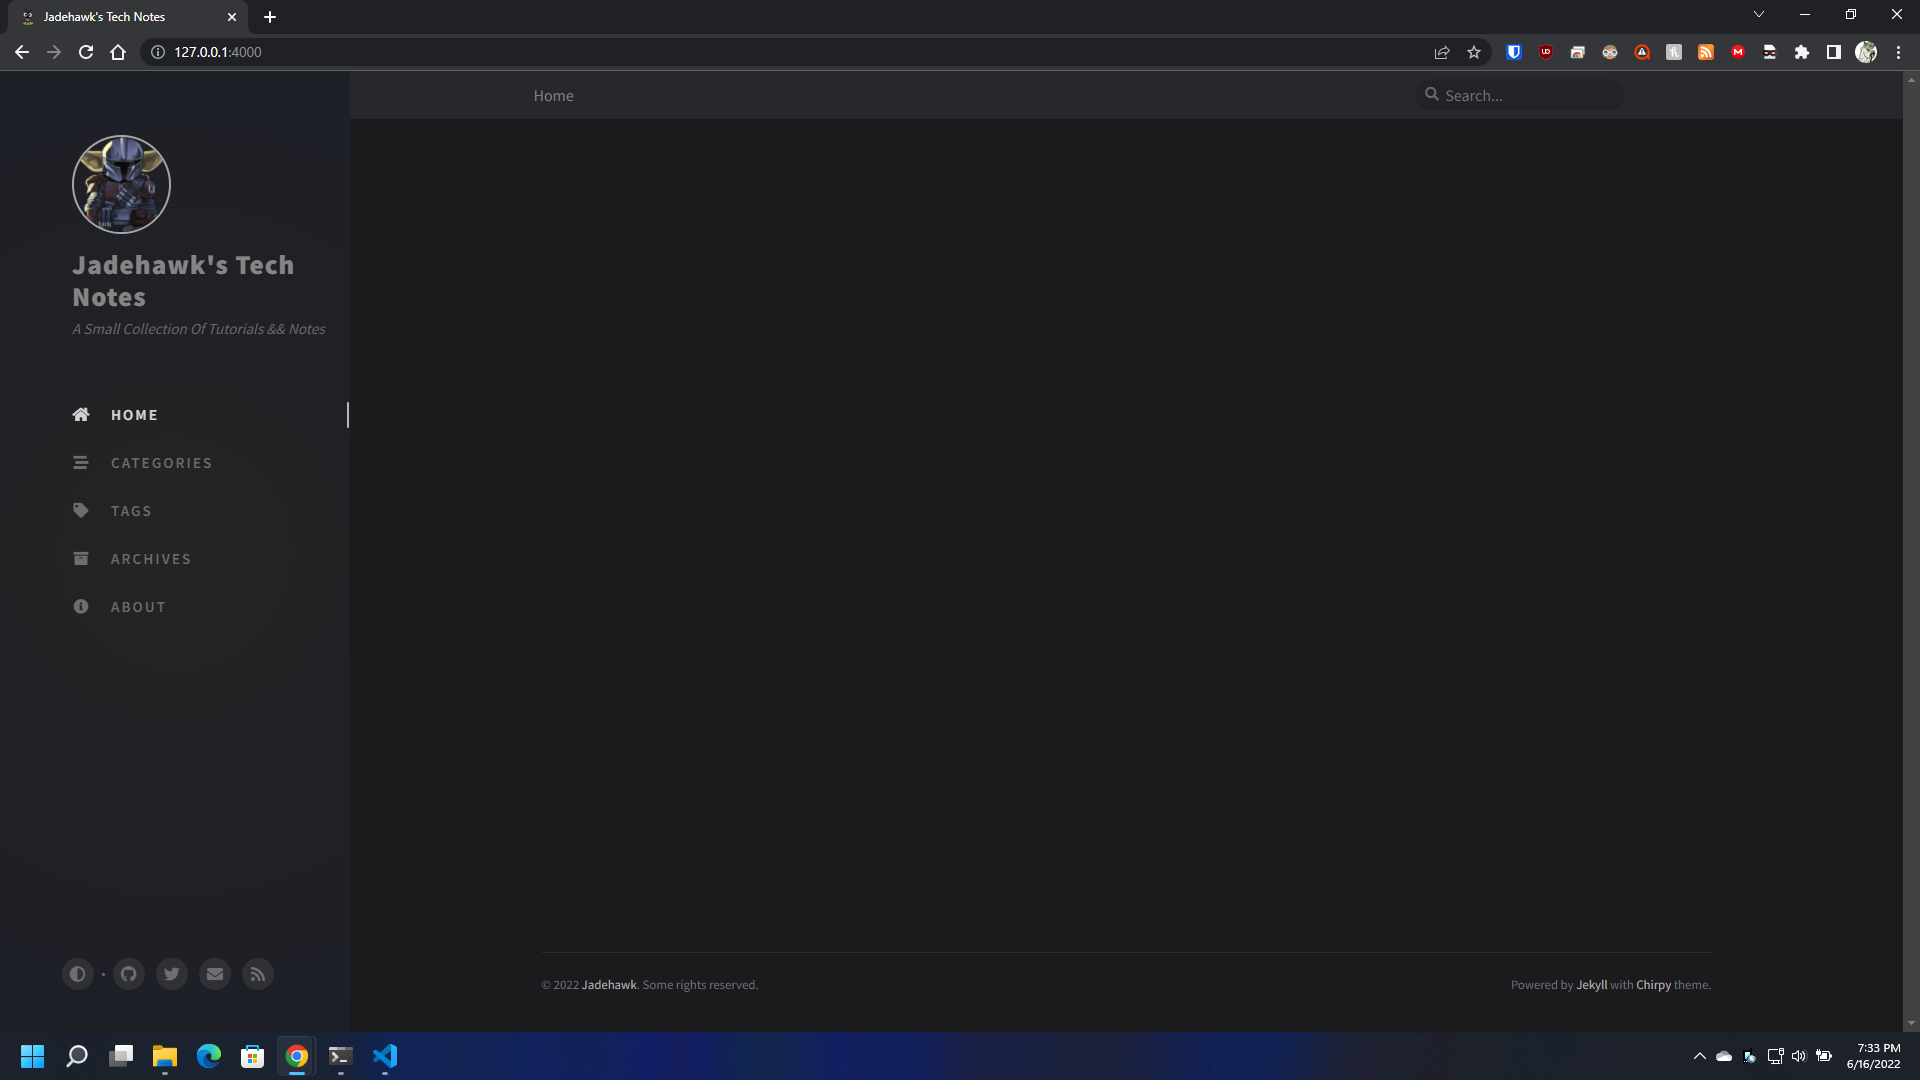
Uploading to Github
At this very moment in time. Your local copy of the repo is different from the one in github since you already made changes to the _config.yml file.
We need to merge (PUSH) our local changes to github, but first we need to add an extra line to our “Gemfile.lock” to include Linux as a platform. Github runs linux and we are on windows. To do this we simple run the following command on our terminal window, inside the root of our cloned repo.
1
            bundle lock --add-platform x86_64-linux
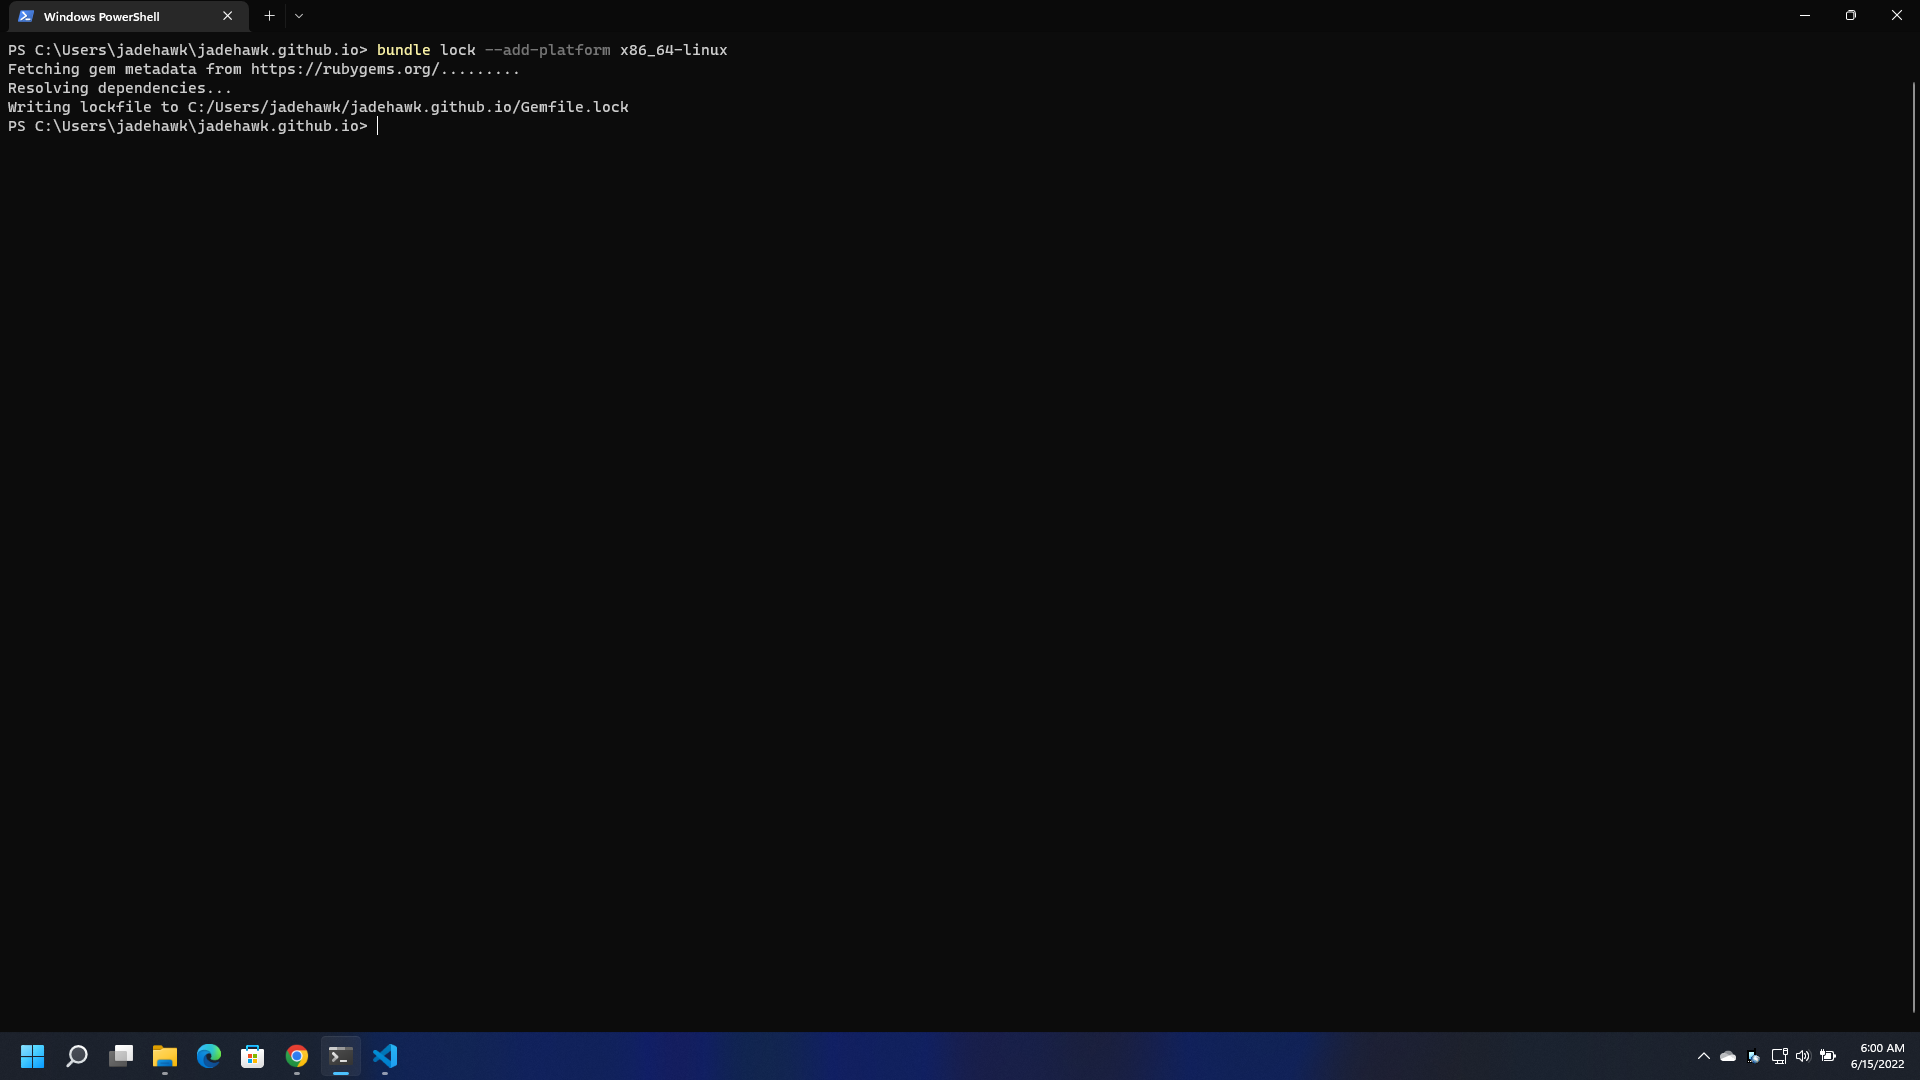
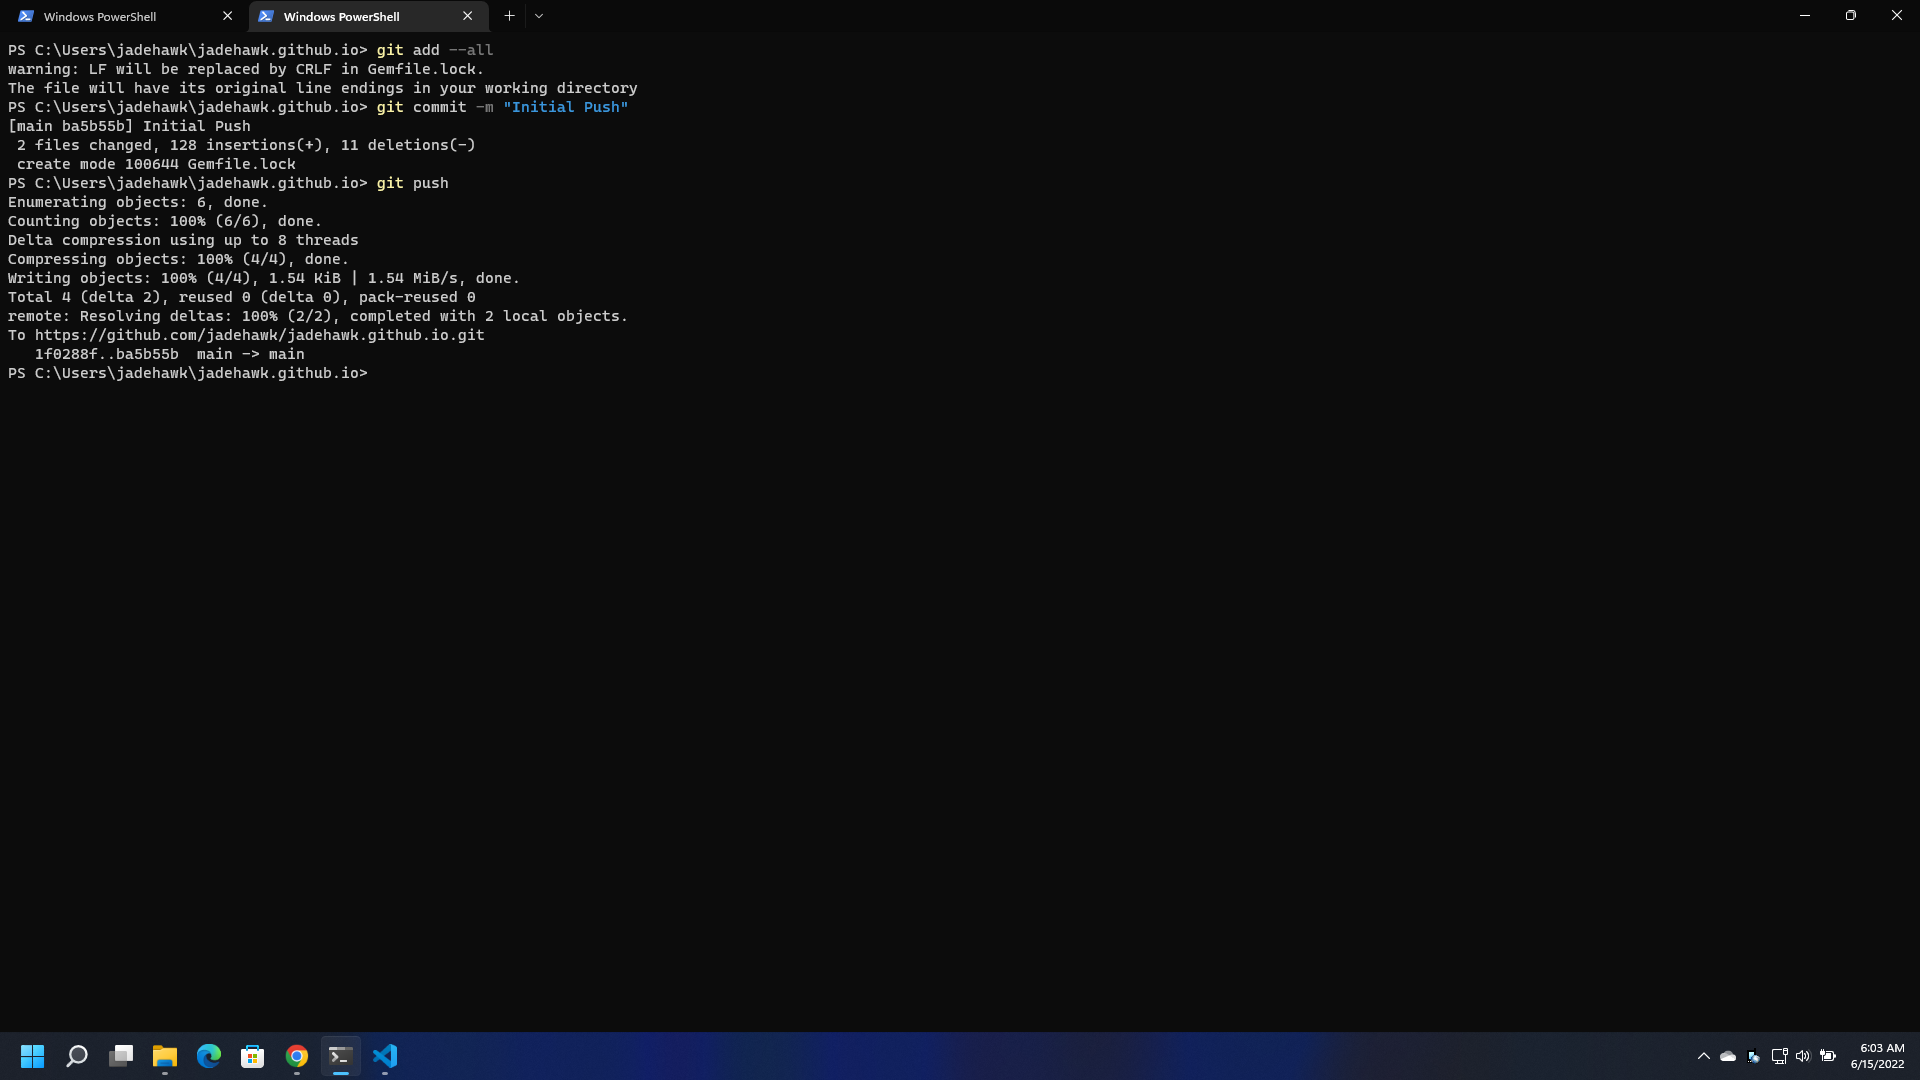
Then we do the standard 3 commands to upload to GitHub:
- git add --all
- git commit -m “add message example: Initial Push”
- git push
Depending on the amount of changes made, yours will look slightly different
After a few minutes on your GitHub Repo, you will noticed that a new branch “gh-pages” was automatically created for you:
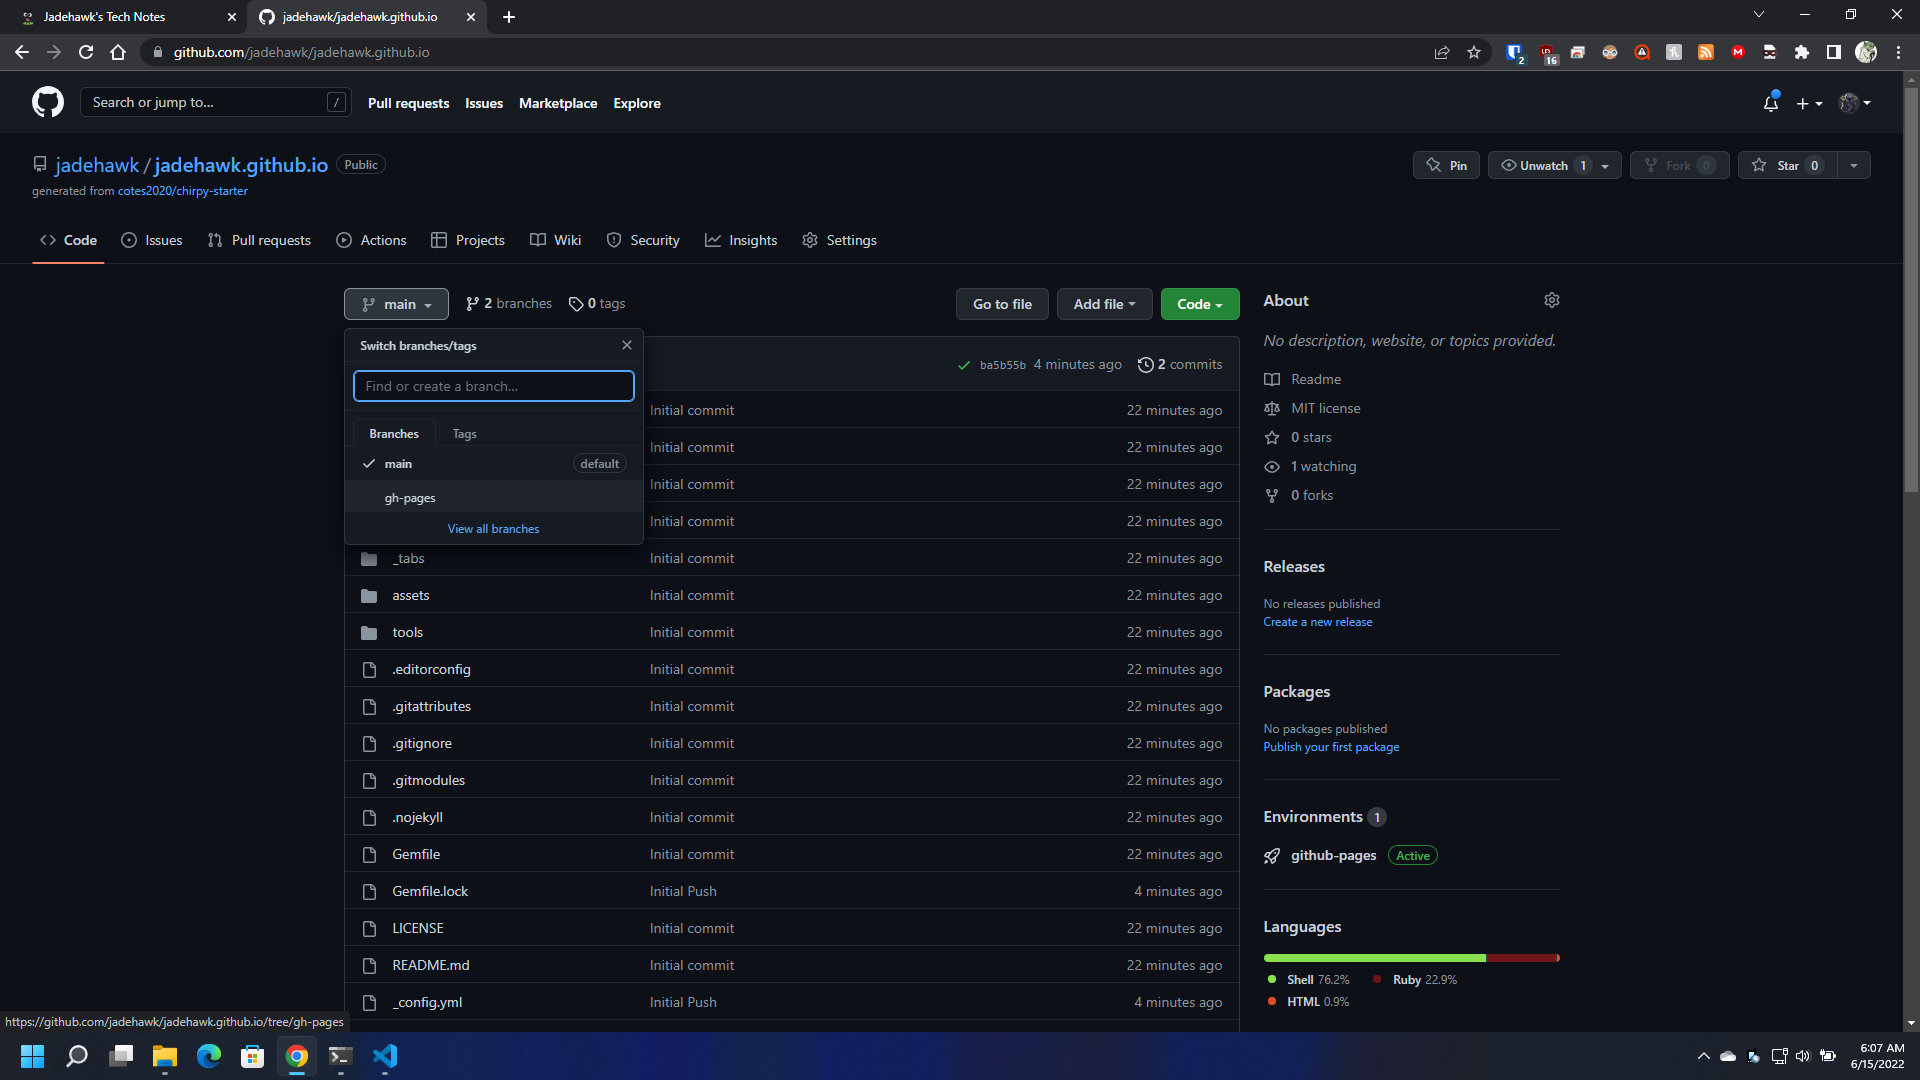
How this works is that when you do a “PUSH” GitHub will use your main branch as the source and in the background it will temporality install:
- Linux
- Ruby
- jekyll
- bundler
And generates your website. and the result of this will be saved on the “_site” folder whick will be copied to the “gh-pages” branch and publish it to the world.
Before we can see the site we need to tell Github that we want to display the “gh-pages” and we do this by editiing the source of “PAGES” on our github repo to match “gh-pages”

Once you do this change you will see background change to “Blue” while the site is being redone.
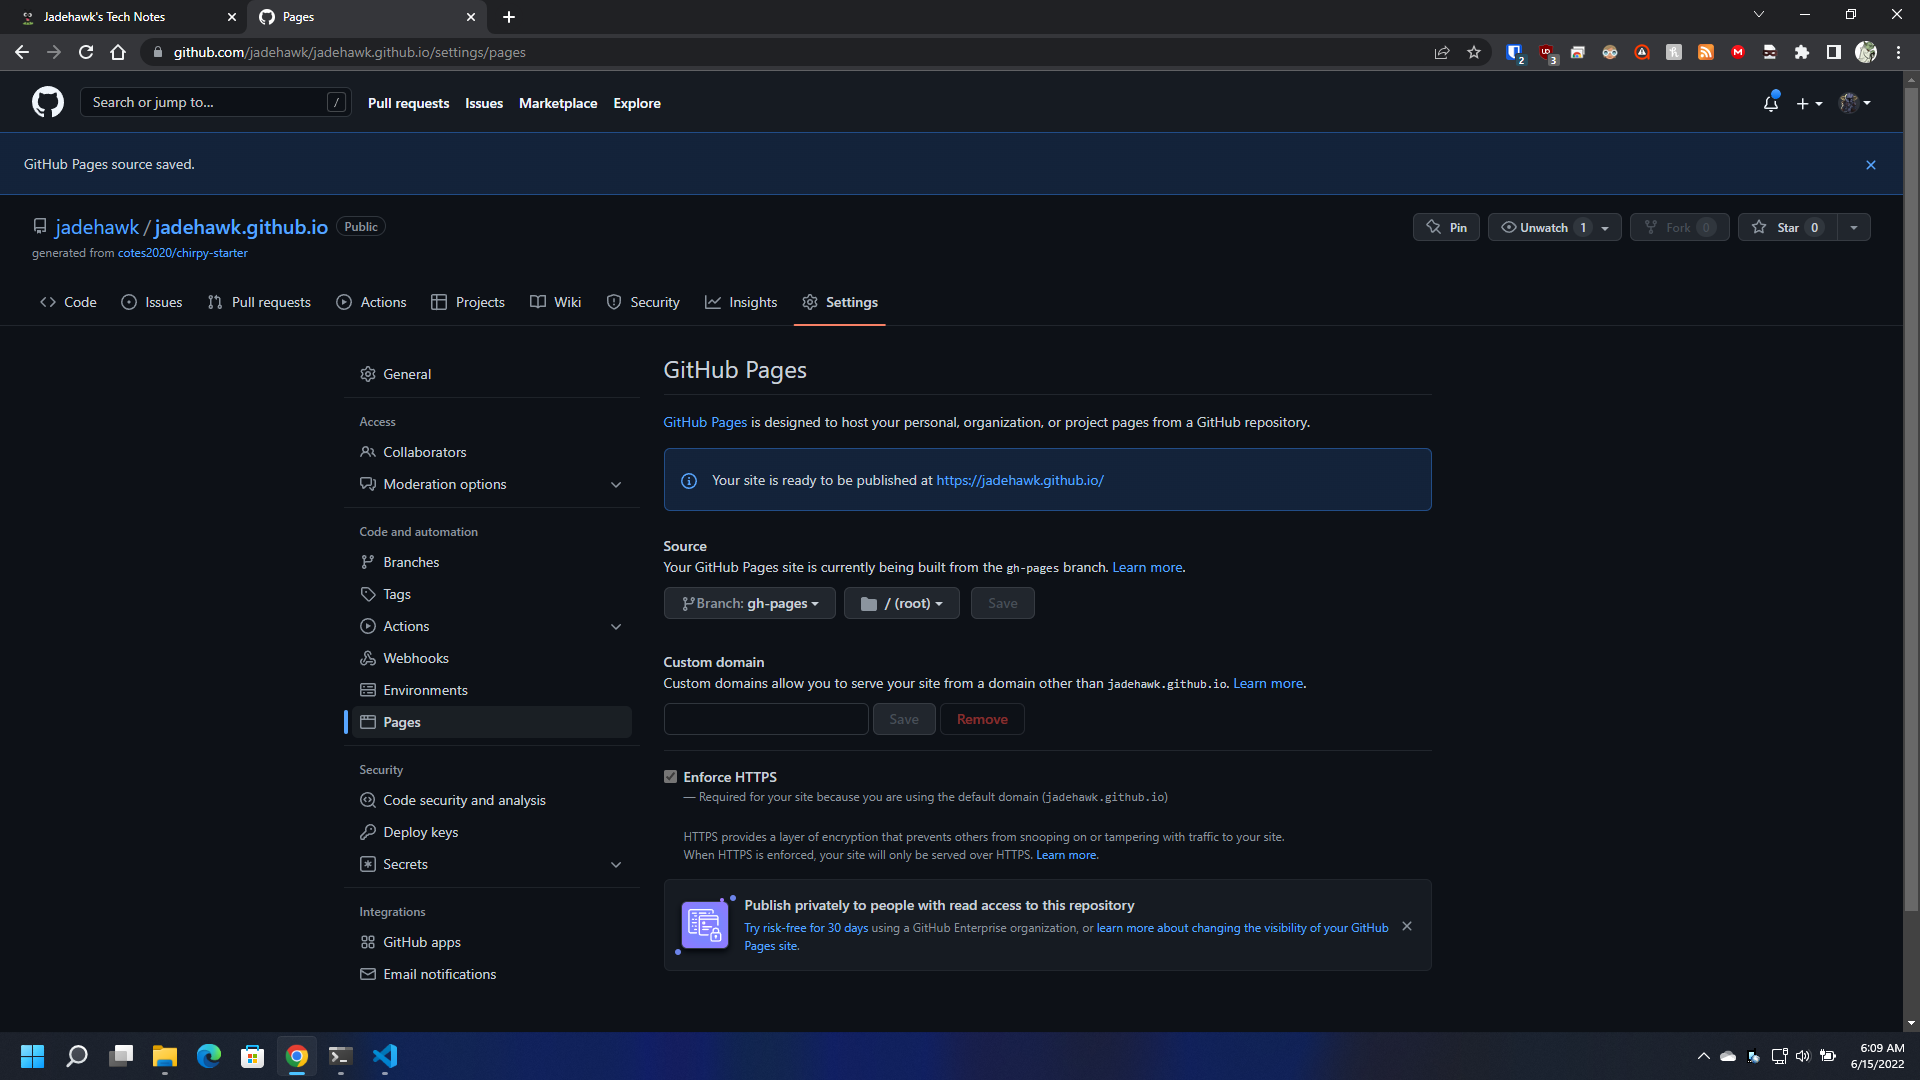
After a few minutes this will change to “Green” and your site should be ready for acess at https://username.github.io (Example. https://jadehawk.github.io)

